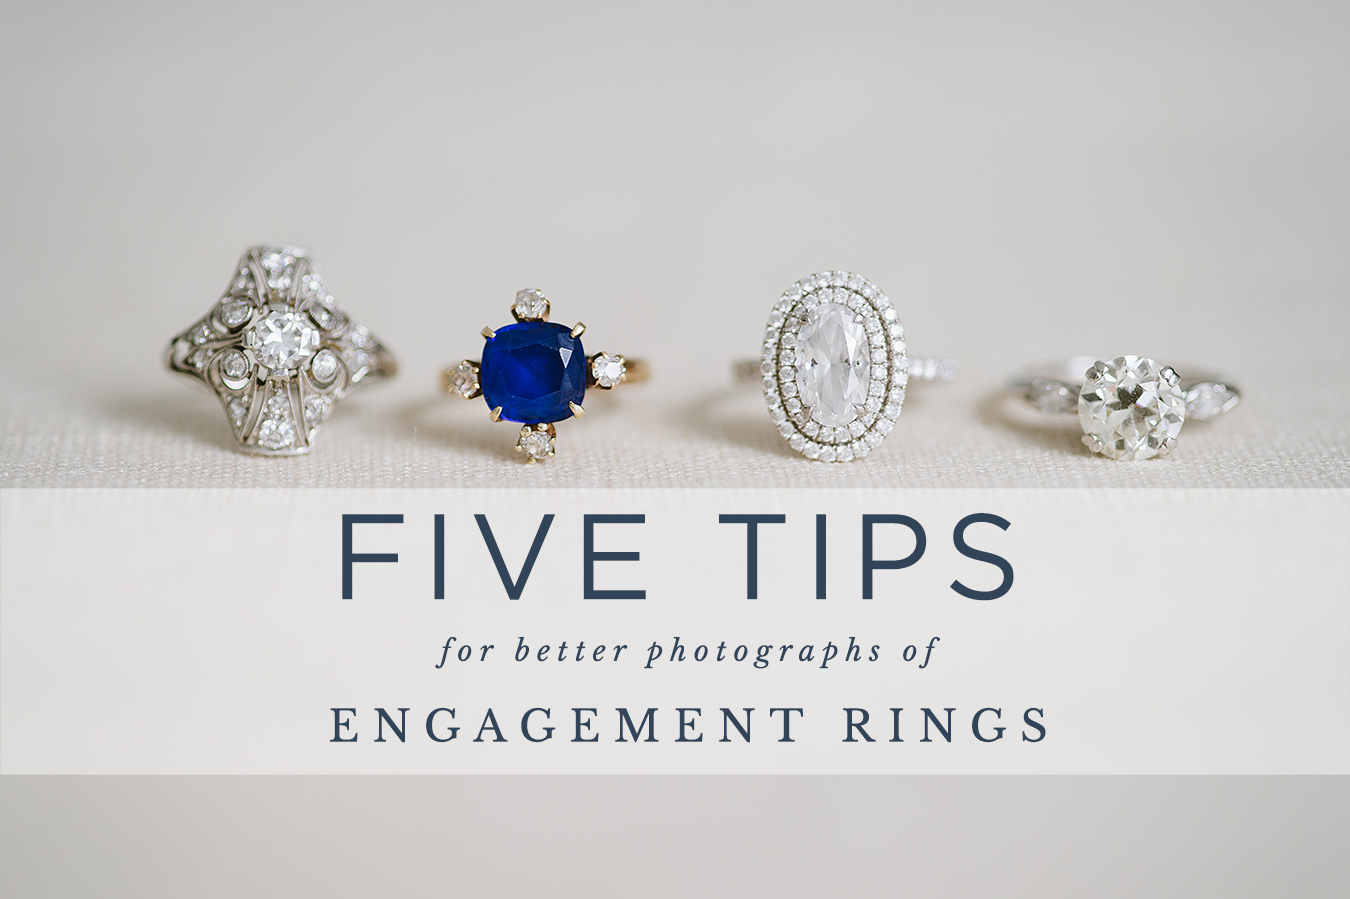
Last month, I shared my Tips for Photographing Wedding Details and today I am breaking it down even further and honing in on one of the most iconic of all the detail shots: Engagement + Wedding Rings! If you were in the office right now, you might hear me humming Diamonds are a Girl’s Best Friend because the blog is overflowing with sparkle today!
Although ring shots are some of my favorite images to capture on a wedding day, documenting these gorgeous heirlooms hasn’t always come naturally to me! When I first transitioned into wedding photography, I genuinely struggled with mastering the details and over the last six years – I have reached the point where I’m confident in my ability to consistently produce the images I’m envisioning for my couples! So if you’re still struggling to get the look that you want with your detail images, please don’t give up! It takes a lot of practice and patience, but with time you’ll be taking that vision in your mind and translating it directly into the camera!
Tip #1:Â Â Use a Macro Lens
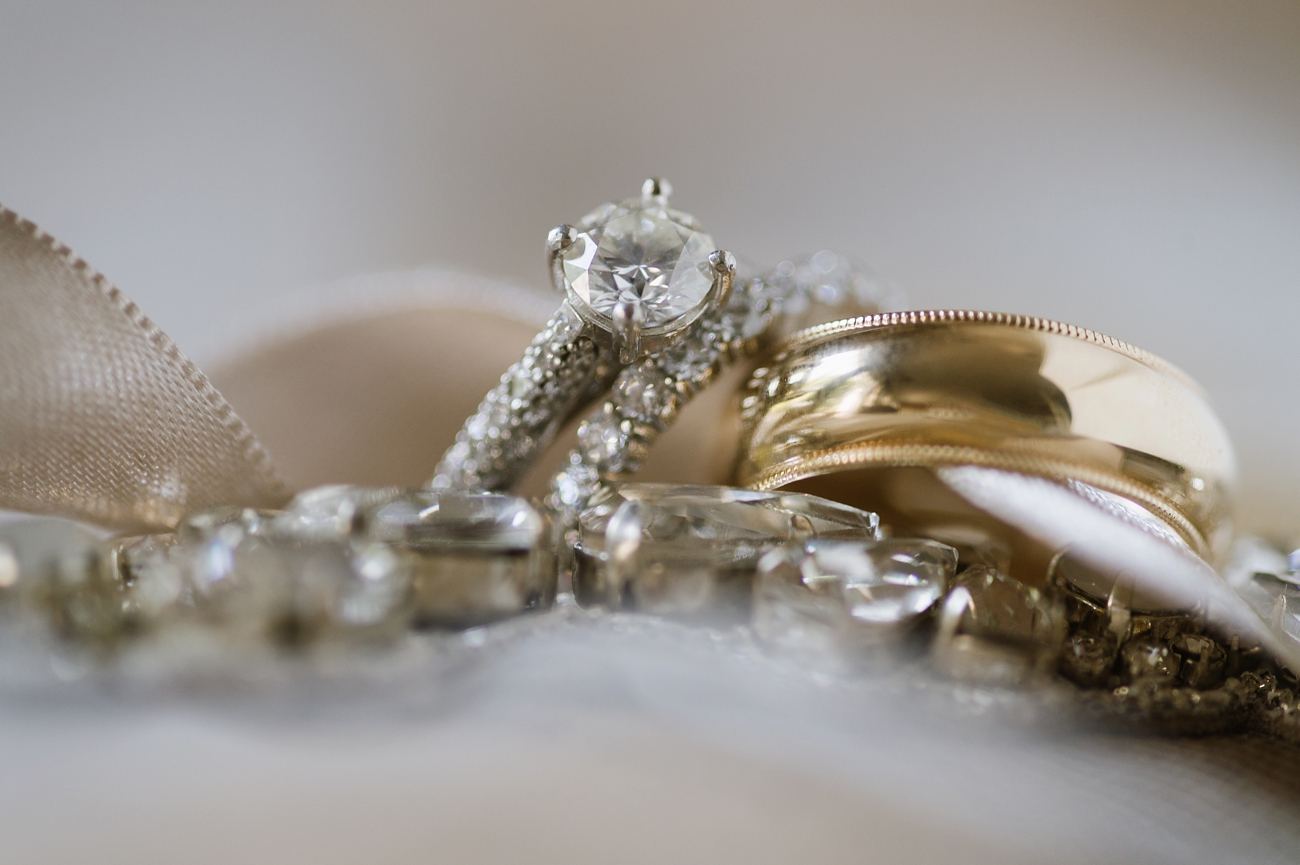
The first and arguably biggest tip for creating more dynamic Engagement and Wedding Ring Photographs is to use a Macro Lens. If you aren’t familiar with these lenses, they are particularly useful for capturing smaller objects because they are capable of creating photographs up to life size (with reproduction ratios greater than 1:1). So that tiny ring that feels so insignificant when photographed with a standard 50mm lens, suddenly comes to life behind the magnified feel of a Macro Lens.
I personally love the 105mm focal length for capturing ring shots because it allows for slightly more compression in the background, although any macro lens will give you a leg up! I first bought my 105mm f/2.8 back in high school and it has been a crucial part of my camera bag ever since!
Tip #2: Â Focus Manually + Position Rings with Intention
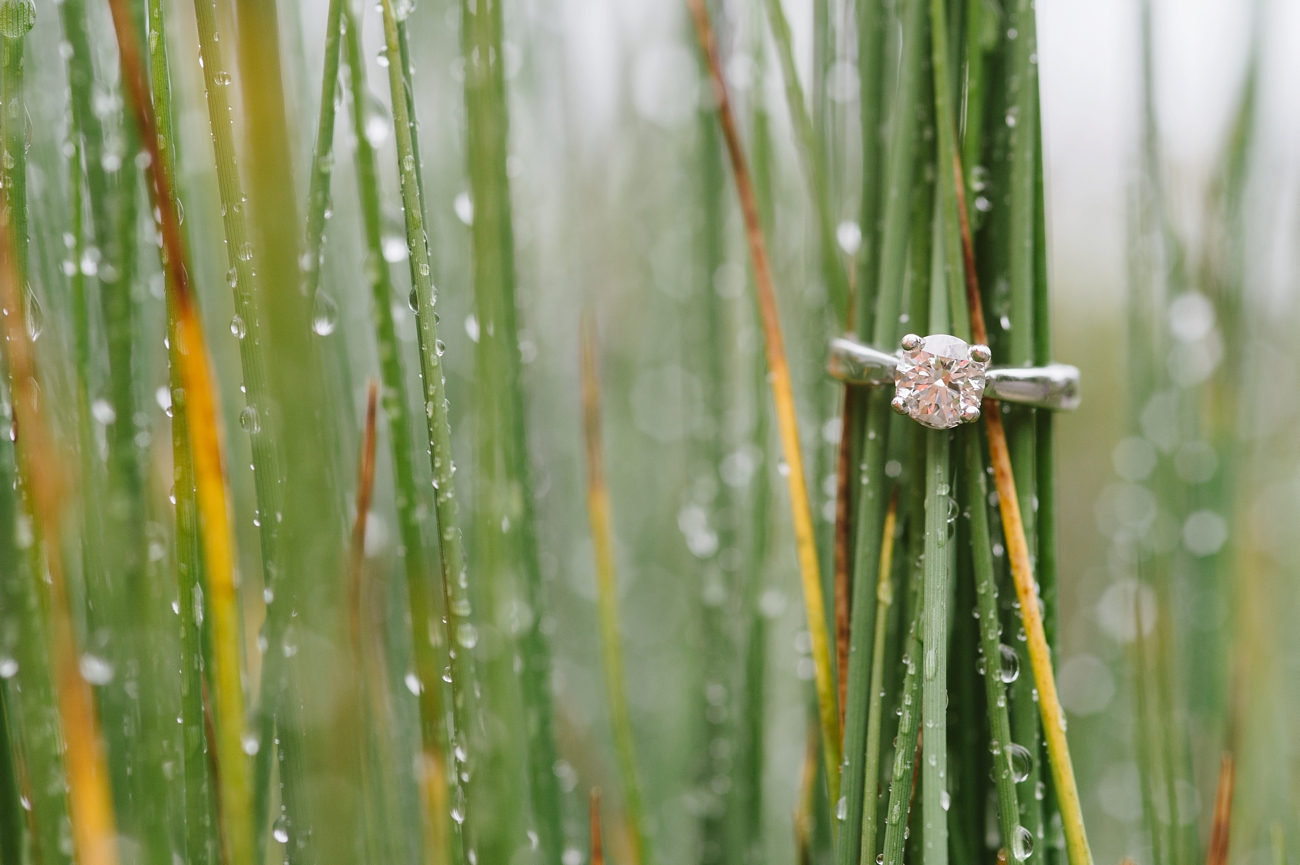
Manual Focus is my preferred method for shooting nearly all of my ring + jewelry shots because it allows me to achieve the sharpest clarity with the quickest speed. My Macro lens is fantastic, but it can be sluggish to hone in on the focal point that I’ve selected. By switching into Manual Focus mode, I can quickly determine what elements I want to remain crisply in the focal plane and which are better left blurred in the gorgeous array of bokeh surrounding my subject.
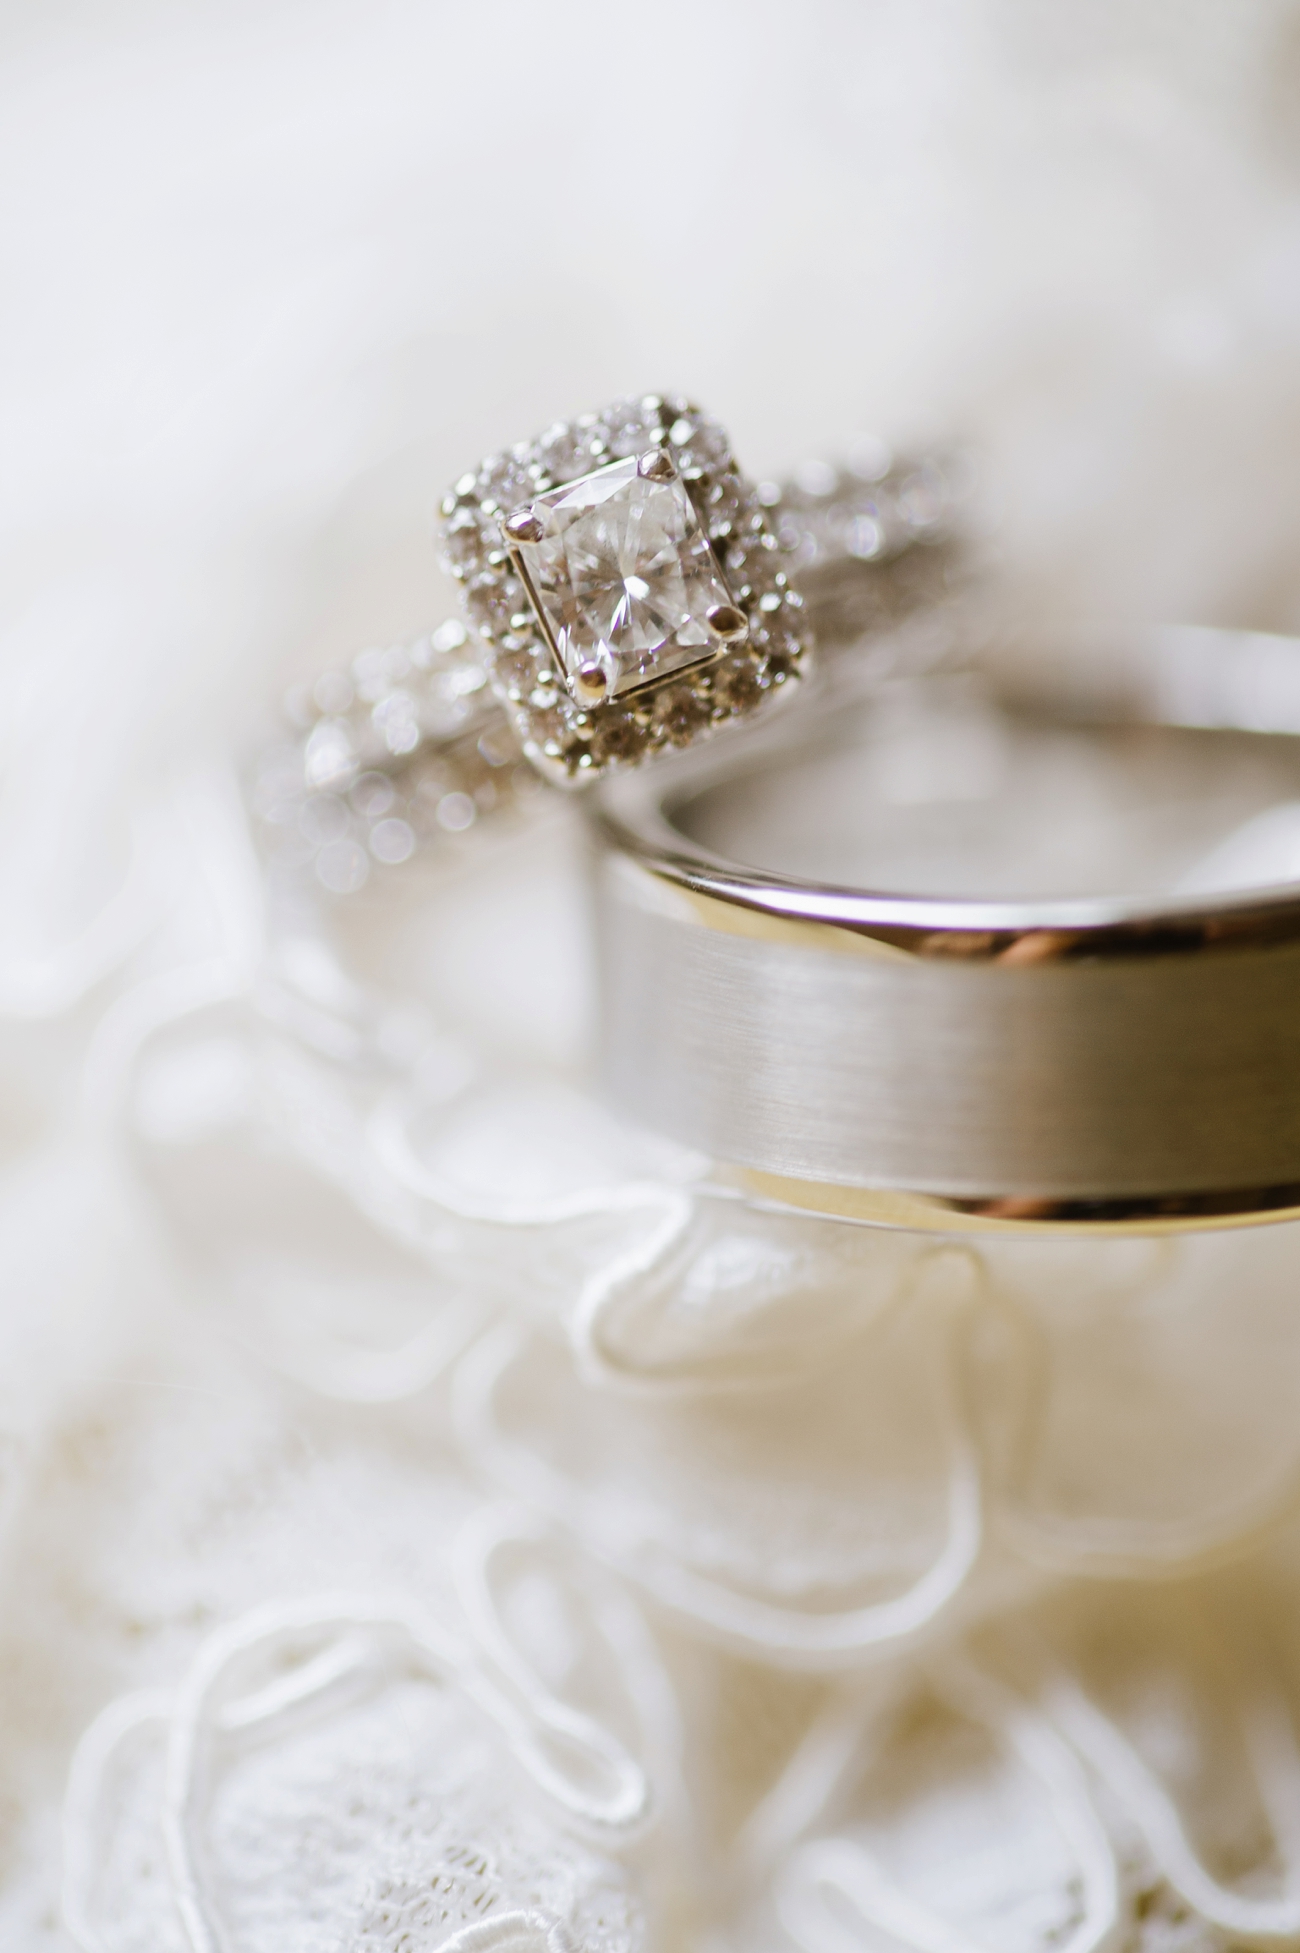
When focussing, I stay tack sharp on the space where the metal prongs first touch the diamond’s surface. This prevents my ring shots from feeling back-focussed or out of touch with the sparkle of the stone. And when stacking multiple rings, I always keep that focal plane in mind and try to align the edges of the rings to stay together linearly.
Tip #3:Â Â Find Good Light or Create it
Most of my Engagement + Wedding Ring Photographs are created with soft, directional window light in order to achieve the romantic look that I love. Whenever I walk into the room where I’ll be shooting the bride’s details, I first turn off any incandescent bulbs and utilize the gorgeous rays streaming through the window! Then, I’ll often use my mini reflector or white object in the room to direct light back towards the rings (in a pinch we’ve used the back of white invitation envelopes + a pillow right off the bed!) This lighting remains the same throughout all of the details that I photograph so everything flows consistently!
If you’re looking for more contrast in your macro images, don’t be afraid to incorporate off camera flash or a video light to add a bit more punch! Although my style leans more in the direction of soft, dreamy details created with directional window light, there are times when I have to think outside the box and reach for my video light to quickly create the look I want!
Tip #4:Â Â Incorporate Significant Detail Elements
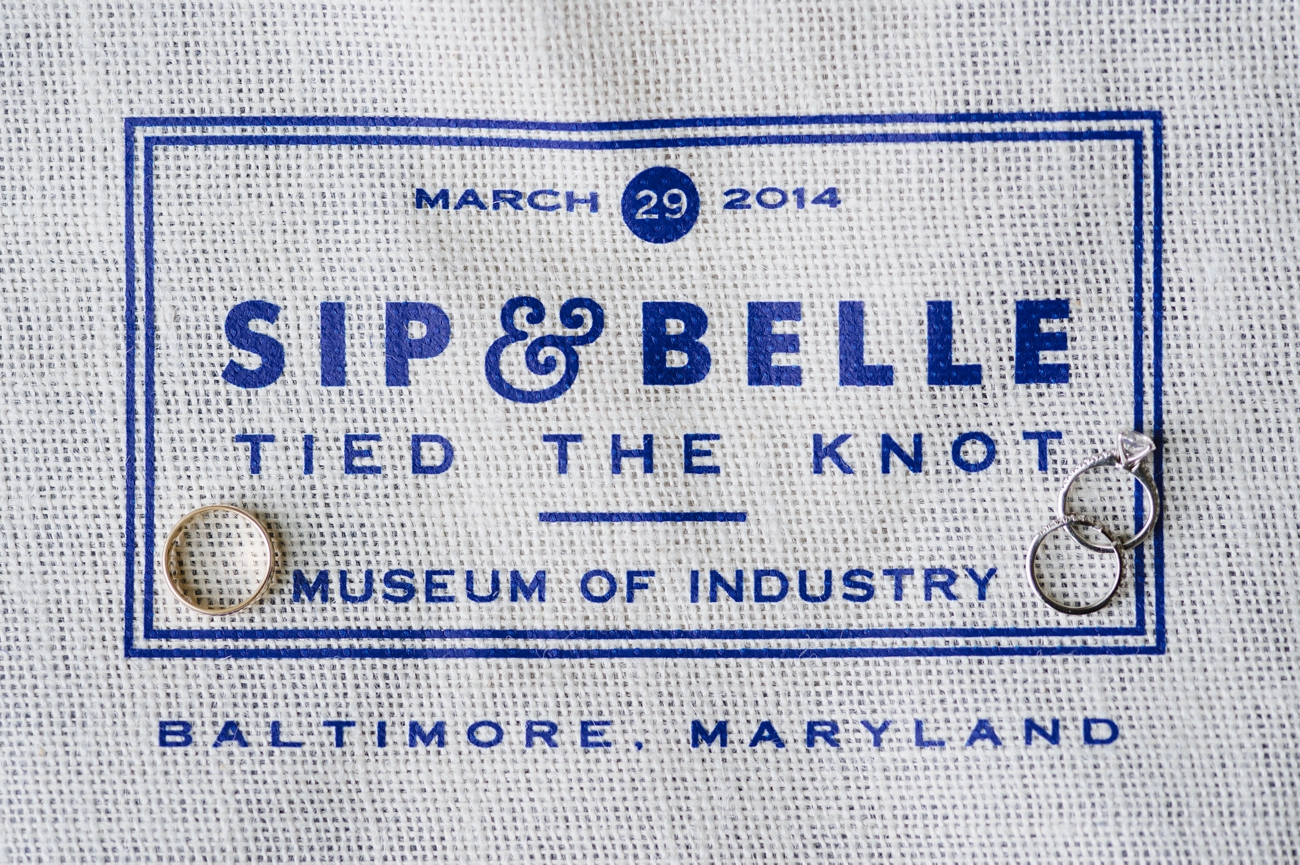
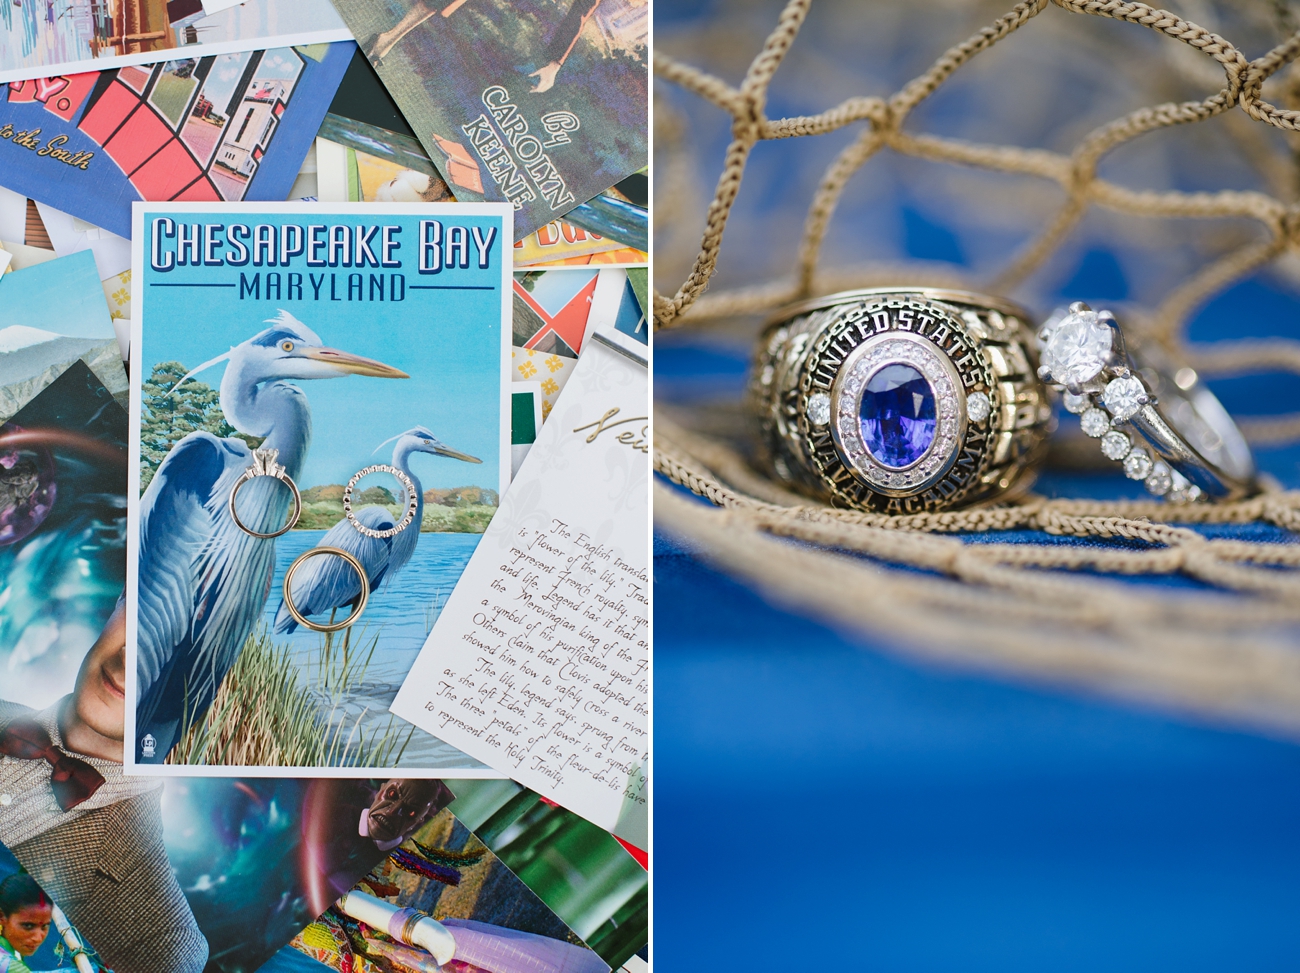
This is where the fun really begins! Once you’ve mastered the basics of focussing and lighting your Engagement + Wedding Ring Photographs, it’s time to get creative by incorporating significant elements into the image! I often gather pieces of fabric and lace alongside the shoes, bouquet and invitation suite when I’m shooting the bride’s details. This gives me a wide variety of options to choose from when I go to photograph the rings!
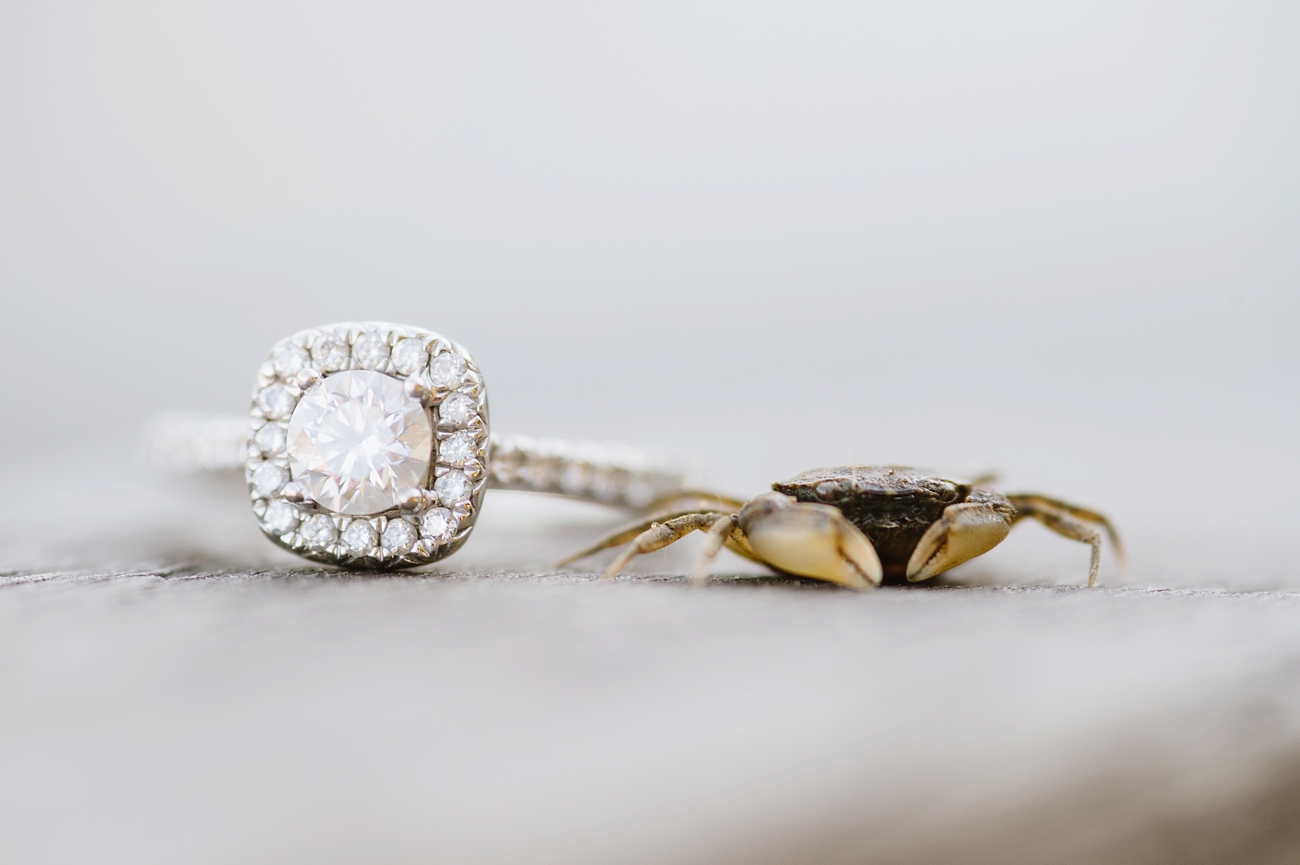
In selecting where to shoot the rings, I try to pay attention to textures and colors that will create the look I’m going for. Soft neutral elements, like the bridal gown, lace ribbons, and shimmering accessories help to establish a elegant high-end look, whereas bright colors with dramatic contrasting textures can give a more fun and playful feel.
I also try to keep in mind the color palette of the bride’s other details to ensure that the ring  shot will look beautiful beside them in the album or on the blog! This is one of the reasons why so many of my ring shots are styled alongside the bridal details and are actually photographed on the bouquet, paper goods, or shoes!
And taking advantage of exterior elements can make it easier to balance the rings as well! So if you’re struggling to get those three rings to sit a certain way, consider running a ribbon through them or leaning a few of the rings against the chiffon ruffle of a bridesmaids dress!
Tip #5: Consider Changing your Perspective
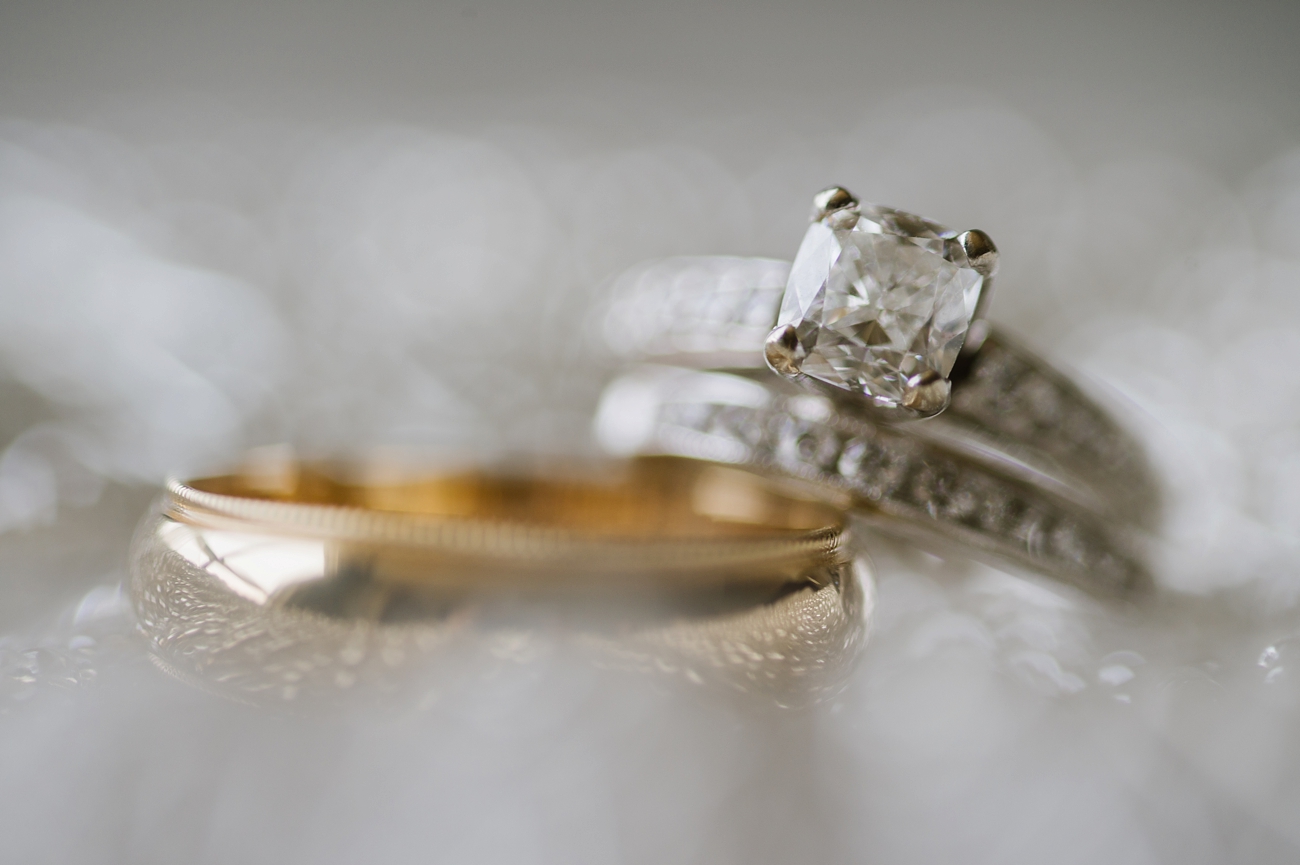
One of the easiest ways to improve your ring shots is to simply change your perspective and try shooting from different angles! For Example: Shoot from ground level and allow the foreground to blur leading you towards the ring. Stand directly above the rings and shoot down at them. Return to ground level and angle yourself at a 45 degree from the perpendicular to get a gorgeous side angle. You can simultaneously manipulate the focal point to bring the viewer’s eye to different places within the frame.
I also really love shooting just below the rings and angling my lens slightly up at them! I’ve found that whenever you angle yourself in this way, the rings appear almost larger than life and it creates a slightly more dramatic feel!
I hope that today’s post is that little burst of inspiration as we approach another wedding season! To find even more Tips + Tricks, be sure to check out my past Tech-Talk Tuesday Posts and be on the lookout for even more gorgeous ring shots as my first wedding of the year kicks off this weekend in Jamaica! Yay!
Leave a Reply Cancel reply
© 2023 Natalie Franke
/
/
/
/
/

Great tips for capturing the ‘bling’! Thank you for sharing!
Love these tips!
This is an awesome post, girl! I love your blog, and I love how much heart you pour into it. One thing I’ve also learned is to ask my brides to have their rings cleaned just before the engagement session or wedding. That way there’s no dust to cloud their gems!
I absolutely love that! Such a great tip for the B&G!
OOOO that grass shot!!! Holy Cow! This is such a great post, thank you so much for sharing!!
These are some amazing ring shots & some amazing rings! 🙂 Love this tips!
Thank you so much for sharing Natalie, I couldn’t click on the link quickly enough when I saw that you posted it, I’ve envied and admired your ring shots for the longest time, and can’t wait to put these new tips to use!
One of the photos in this post may or may not have just come up in my S&S contest voting! 🙂
Natalie!
Like you, I’ve always struggled with rings pictures/jewelery as a whole! Last week I did a jewelry shoot, and oh my, am I wishing I had these tips. Thank you so much for your insight! I’ve written these down in my notebook and can’t wait to put them to use in the future. Thanks for your inspiring words as always.
XO
Gorgeous ring shots! I especially love the one with rain drops – so beaufiful.
Great post and totally spot on!
Your ring shots are always so amazing 🙂
Great tips!! <3 Love this post!
Such great advice! I hope all photographers follow it 🙂
Such good tips!! Love all these fun ring shots!!
Love this post nat!!!
Awesome tips, Nat! Also, I love that second ring shot. Those rain drops with that ring. Beautiful!
Gotta love the larger-than-life affect on even the smallest bling. Thanks for sharing your awesome tips, Natalie!
I love ring shots too! And I love it when your crab one pops up in the shoot and share contest! 🙂 I have seen it a few times the past few days. Just the coolest capture!!
What incredibly helpful tips! I too struggle with ring shots and love all of the creative ideas and images you’ve shared. STUNNING!
All tips are very very useful for me because Whenever I was shooting a ring with a macro lens, somehow there was some mistake by me and the result was not good for me. But after reading your article I notice that where was my mistake thanks for sharing such a useful article it help me a lot please keep sharing such types of articles and update us.