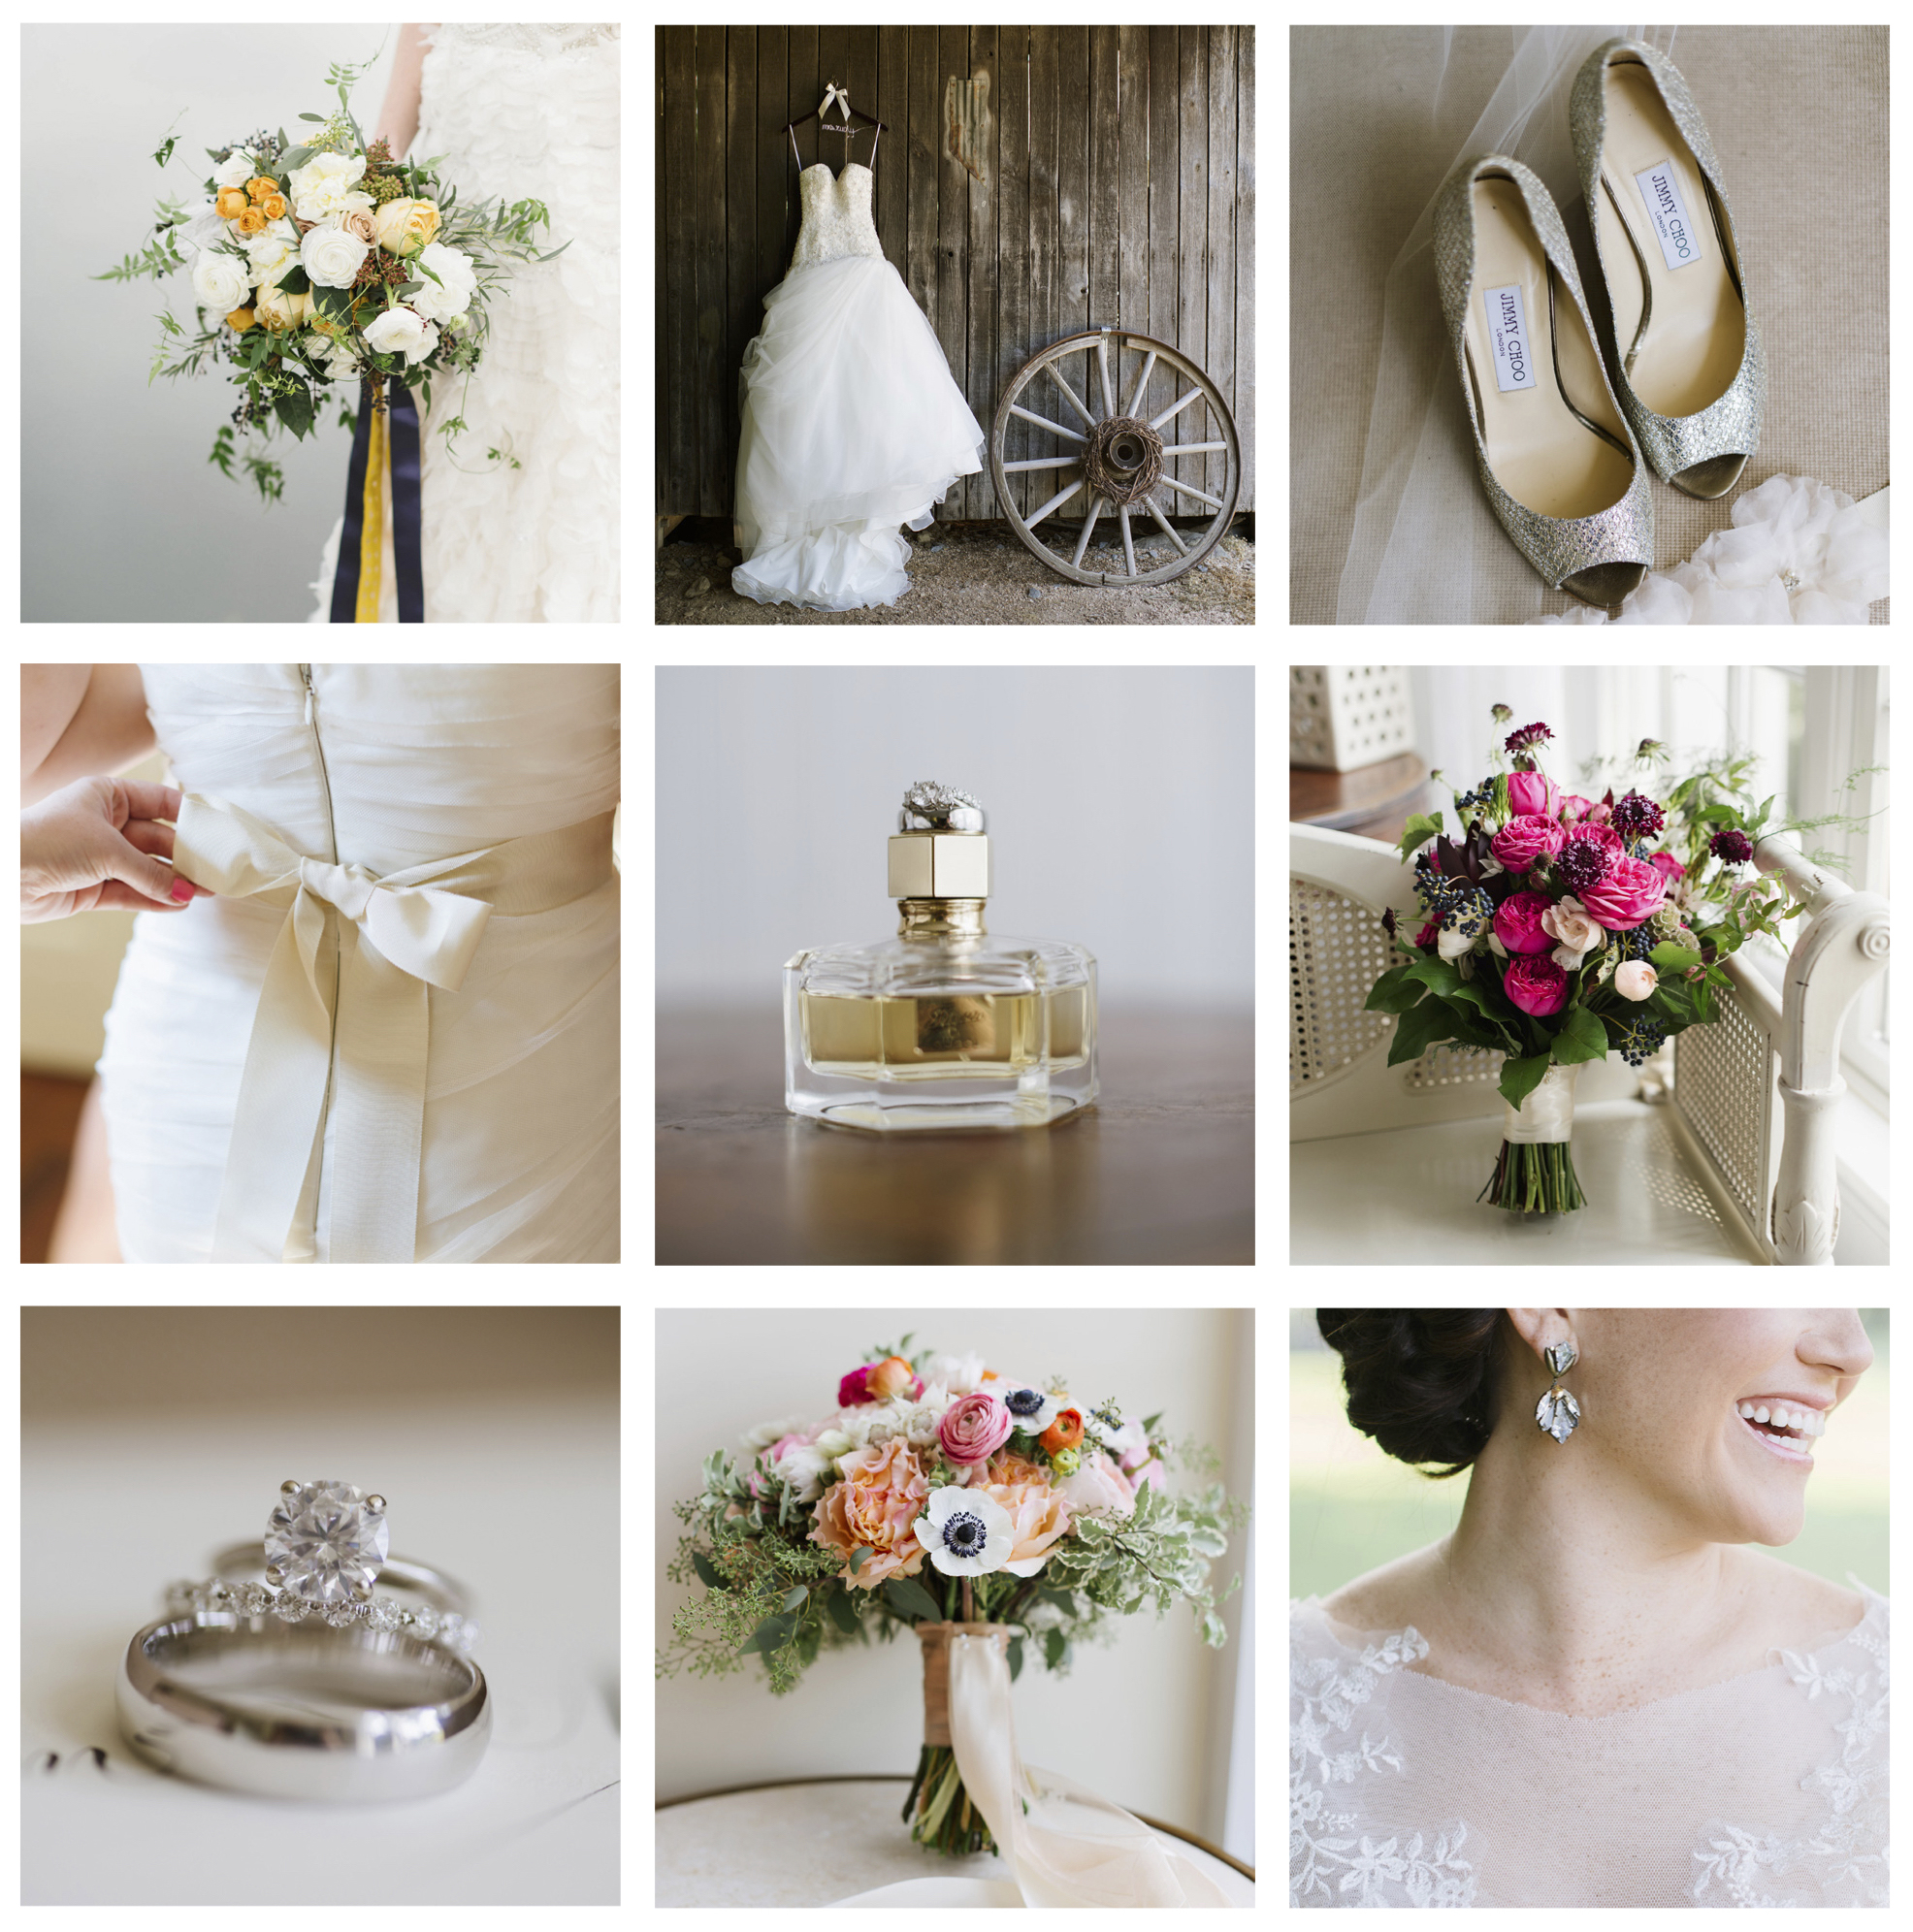
For years, I would show up and style the details with whatever was available in the bride’s getting ready room. But as you can imagine, no two rooms are created equal and I was often left with very few options to create the elegantly styled photographs that IÂ want!
So rather than leaving it up to chance, I decided to craft the ultimate Wedding Styling Kit filled with everything I need to capture my brides’ details to perfection! I’m so excited to use this kit throughout the upcoming season and I hope that today’s post inspires you to create one of your very own!
I am so excited to share a few of the items in my Wedding Styling Kit on the blog today!

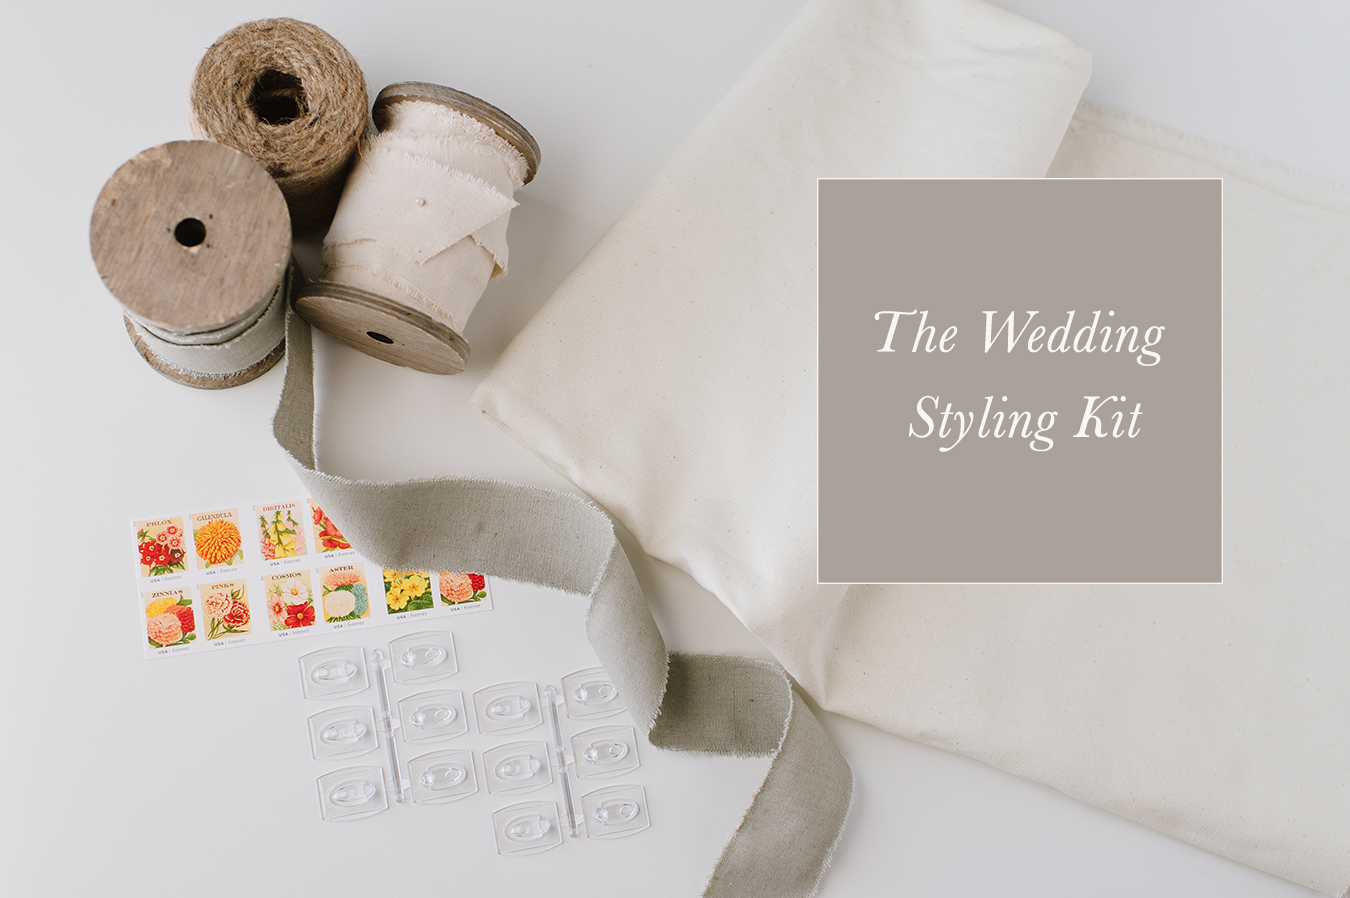
1) A Neutral Fabric: This is the first and increasingly necessary of all the items in my kit! How many hotel rooms have you visited that are filled with limited surfaces to photograph the details? (Chairs that clash with the bride’s color palette or side tables that are simply too small for a full display of the invitation suite!? Been there, dealt with that!) Now I carry a yard of neutral fabric just incase we run into a situation like this and my current favorite is this: Heavy Duty Canvas.
If you’d prefer not to carry fabric with you, in the past I’ve also styled invitations and other details on the fabric of a bridesmaids dress! Just be aware that some dresses may leave a slight color cast on your detail photographs, which is why I generally prefer a neutral linen or fabric.
2) Command Hooks: These have been a life saver at a few of my weddings in the past when we have struggled to find a good place to hang the dress! Simply attach, hang the dress, and shoot. Once you’re done, they remove without leaving any damage to the wall so they are perfect for use in hotel rooms and on exterior surfaces! I love these Brushed Nickel Hooks, here!
3) Wooden Hanger: I ordered a pack of these earlier this year to have “just incase” I arrived to find the gown on a plastic hanger! A gorgeous gown deserves to be displayed beautifully for that heirloom photograph and having a wooden hanger on hand is a great way to ensure you won’t have to worry! Be sure to purchase hangers with small divets and without a wooden bar across the center. Two great options I love: Solid Beech Wooden Coat Hangers (Set of 10) or for a darker finish, the Mahogany Wood Curved Hanger (Set of 5) is a good alternative!
4) Reflector: Because I often use natural light to photograph the bride’s details, I bring a reflector with me for the first portion of the day. Currently, I’m loving this mini reflector for my ring shots that folds down into a tiny disc and whenever I’m in need of something with a wider diameter, I’ll use a white pillow right off the bed to redirect the light onto the bouquet or invitation suite!
5) The Extras: All those little pieces that you don’t need but accumulate just incase the perfect opportunity presents itself! I especially love:  Assorted & Spooled Ribbons to give a beautiful vintage look like this 2″ Raw Muslin Spool or this Natural Edge Cotton Ribbon. I also love collecting a few Vintage Stamps from the Postal Service.

A few weeks ago, I shared 5 Tips for Shooting Wedding Details and today’s post is written to take those tips one step further and refine your detail shots even more! If there are items you bring with you for your styling kit – be sure to share them in the comment section below! And just a reminder that as a participant in the Amazon Services LLC Associates Program all purchases made from the links above help to fund the free Educational Content that I share on Tech-Talk Tuesdays!

Leave a Reply Cancel reply
© 2023 Natalie Franke
/
/
/
/
/

This is a great look at the other side of necessary “equipment” that a wedding photographer needs! I’m just starting to build my styling kit (I bought a light neutral fabric right after the Bayside Workshop) and I can’t wait to expand on it! The hanger and command hooks are a great idea! Thank you for sharing Natalie!
I’ve been toying with the idea of bringing a hanger with me to weddings! Never thought about bringing fabric though. Brilliant!
Love this! Wooden hanger is something we’ll be carrying with us form this season on too 🙂
I started putting one of these together myself last fall, and looks like I have at least 3 of the same things in my kit! The hanger has been the biggest help so far and now I’m just building up some small but cute details.
Love the fabric idea! Never would have thought of that.
Such great and helpful advice!! Thanks so much for sharing Natalie! 🙂
Love all your pretty little details! This is so helpful:)
Love this! I just snagged an order of stamps to add to MY detail kit. <3
Such a brilliant post! I just ordered all my stuff on Sunday and I can’t wait to incorporate these items into my weddings this year! You rock!!
THANK YOU!! I so needed this, such great ideas to ensure seamless, beautiful detail images!
LOVE the command hooks tip! That is genius! Thank you so much for sharing!! xo
I’ve been thinking about making a kit like this and this blog was very helpful! I’ve also never though of using a command hook…brillant! Thank you so much for sharing your knowledge, I love your blog!
Such a helpful post Natalie! We’ve been bringing wooden hangers and command strips for a few years, but starting bringing fabric with us following the last Bayside Workshop! I love the vintage stamps and need to start incorporating some ribbon! Another thing I found to be super helpful are sticky dots to help with invitations that are folded and don’t lay nice and flat 🙂
As a creator of one of those a small detail (invites!), this makes my heart sing!! Such a good idea Natalie!
Great tips! It’s nice to have and then dump back into your car right after so you don’t have to carry it around all day.
I think I have to get myself one of those reflectors. I have one now but it’s HUGE and more of a hindrance than a help. Always love your tips, Natalie!! xo
These are awesome tips. Adding command hooks to my bag asap. How/where are you carrying these?
Lacey – I have a little box that we bring with us into the getting ready room and then leave in the back of my car! It’s nice because in season, I’ll just be leaving it in the car from day to day and using it whenever necessary!
These tips are so genius and so helpful!!! Thank you sooo much as always for these amazing tips!!! xoxo
Love this! I’ve been bringing a satin hanger, some assorted ribbon, and a cheap fingertip length veil. I definitely need to add another fabric option though! And the stamp idea is great!
I’m wondering if you have to iron your canvas material for each wedding? I tried to take material once… it wasn’t canvas material, and it seemed to get to wrinkly in transit… so then I had to edit out the wrinkles in photoshop…
Stephanie – I recommend rolling the canvas material rather than folding it! It keeps it from getting extremely wrinkled! Also, try using a wrinkle release spray if you’re still struggling with it!
Love this post! What are those white tabbed things below the stamps?
Thanks so much for sharing!