Whew, the past few weeks have been a whirlwind! In case you missed it, the HoneyBook team and I recently launched the Independent Business Podcast …

This is a podcast that has lived in my heart for years. Now, we’re finally bringing you the insider secrets, hot takes, data-driven deep dives, and strategic know-how that will empower you to make smarter decisions within your independent business.
Heck, even though we’re only part of the way through season one, but we’ve already covered a ton of ground:
- Becoming a business owner and embracing your inner CEO with Ellen Yin
- Video marketing and the science of showing up with Xayli Barclay
- Grow your business in a recession with Donald Miller
- How to change the world from where you are now with Danielle Coke
- 9 stats every independent business owner needs to know with Akua Konadu
- How to advocate for your business with Sharon McMahon
- Invest in your future as an independent business owner with Ankur Nagpal and Jess Catorc
- How AI can transform your business with Dawn Richardson
And the feedback we’ve received from you all has been nothing short of heartwarming and inspiring:
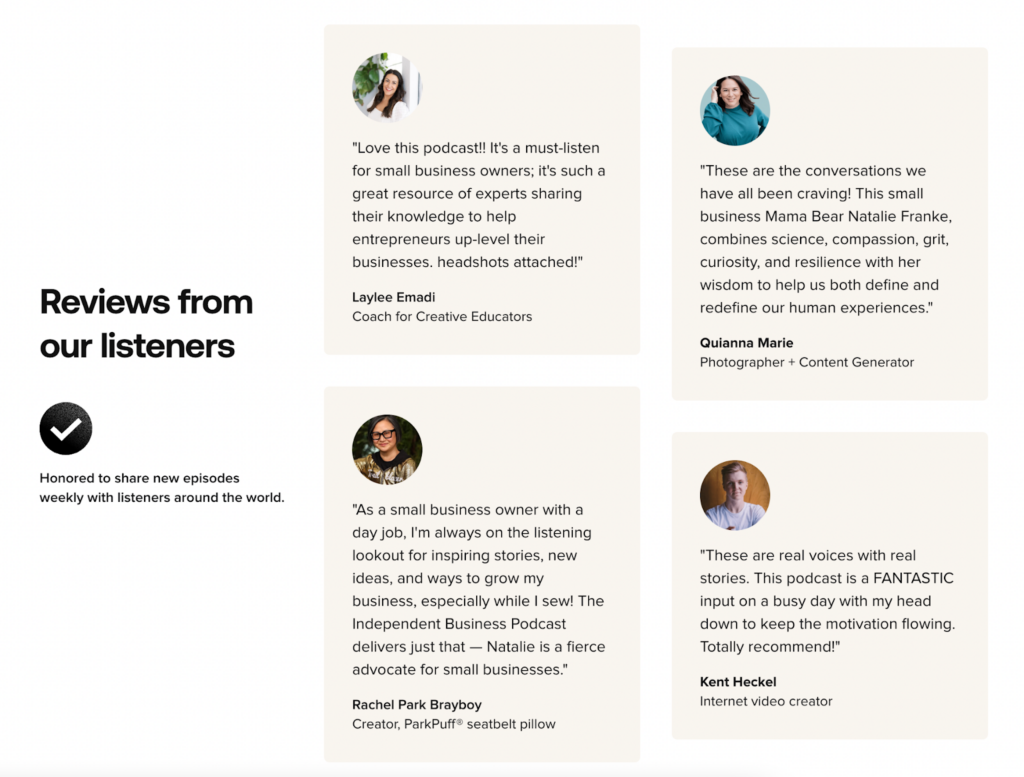
(We’re so glad you love it, but remember, YOU ALL are the reason and the inspiration behind every episode we publish!)
In addition to this feedback, one of the most common questions I’ve gotten about the podcast is about the equipment we use!
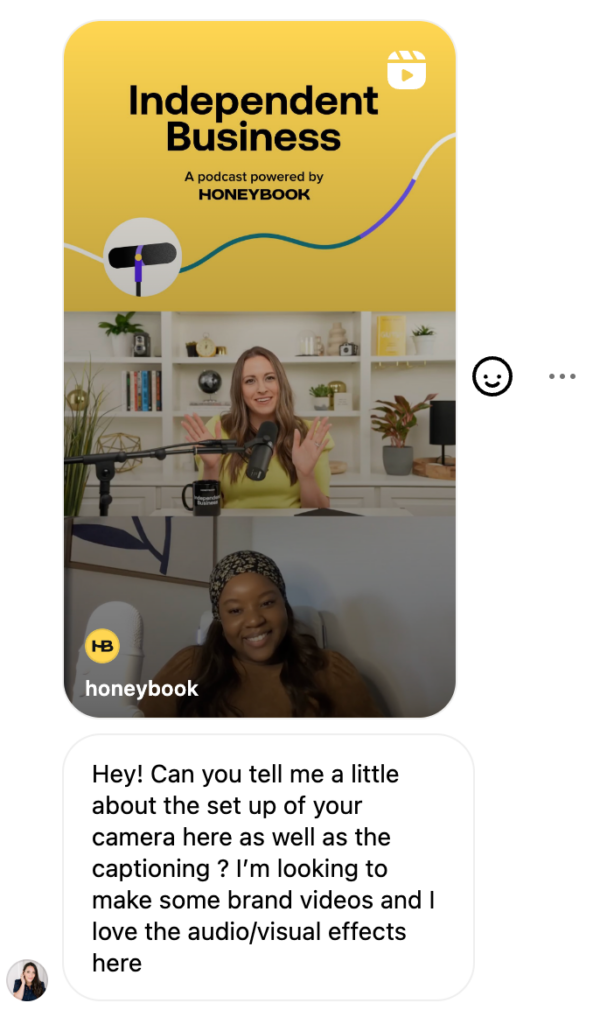
That’s why, today, I’m excited to share the equipment that we use behind the scenes of the Independent Business Podcast, as well as some of the lessons I’ve learned going through this process of taking a podcast hosting dream to reality.
But before I get into it, I have to give a shout out to videographer and podcast producer extraordinaire Tyler Herrinton.
While I wish I could say I went into this process already a pro about podcasting and equipment, that couldn’t be further from the truth. Once we chose Riverside as our recording platform—there was still a lot of work to do. Every step of the way, Tyler helped me make the right equipment choices based on my goals with his unparalleled guidance and expertise, and he trained me on how to use it.Â
Thank you, Tyler!
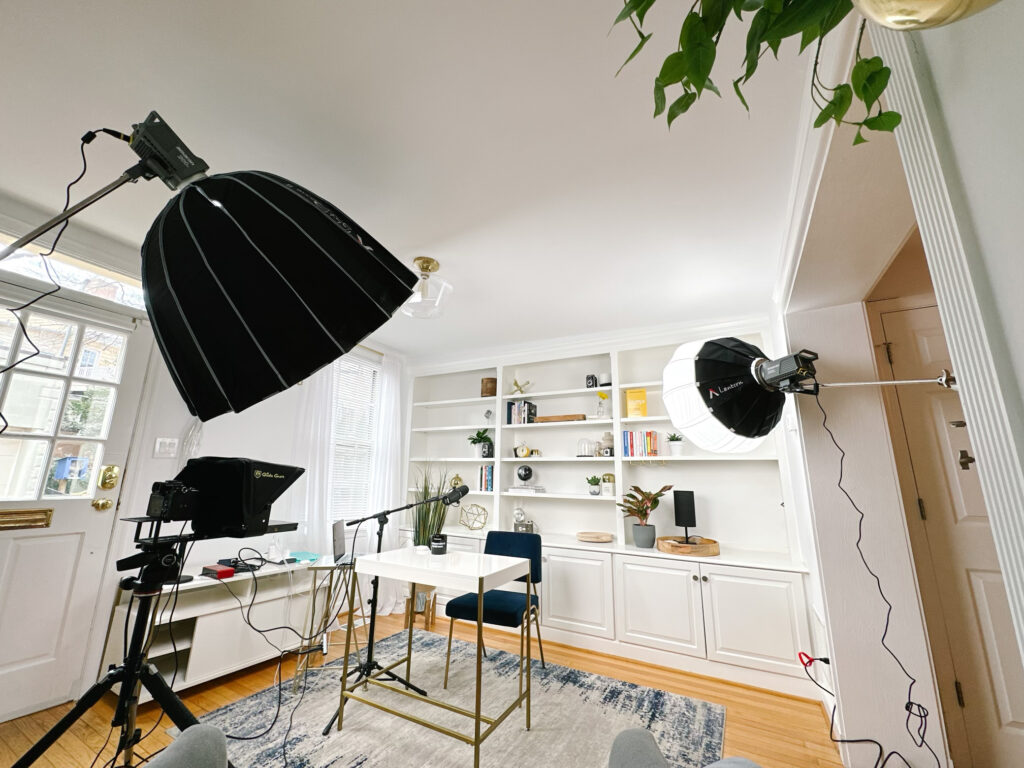
Independent Business Podcast equipment list
As a thank you to Tyler for all of his incredible support, please note that the links below are affiliate links from him. That means he may be compensated for any purchases made through the links below.
Our Camera
The HoneyBook creative team already had the Sony Alpha 7 and a 28-70mm lens kit that we chose to use as our external camera. You can use any high quality camera to film your podcast though and the equipment below will enable you to do that.
Audio equipment
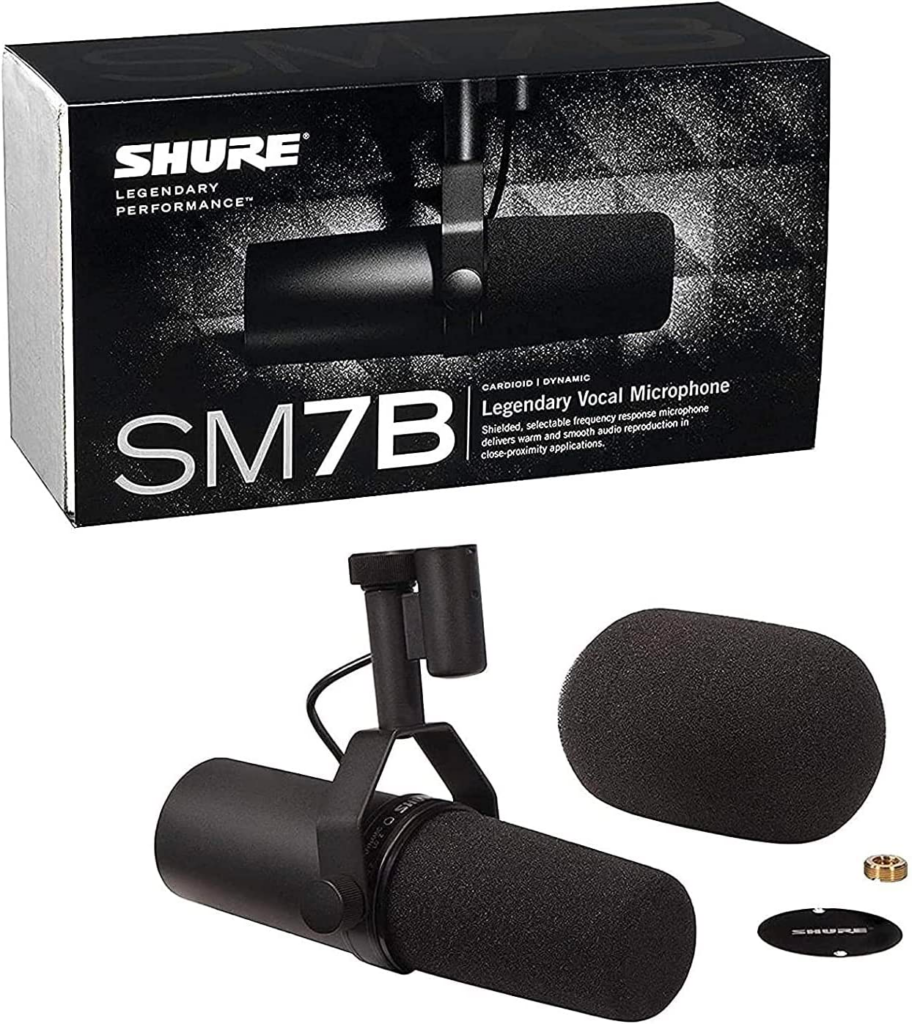
Shure SM7B vocal dynamic microphone + this Boseen extender …
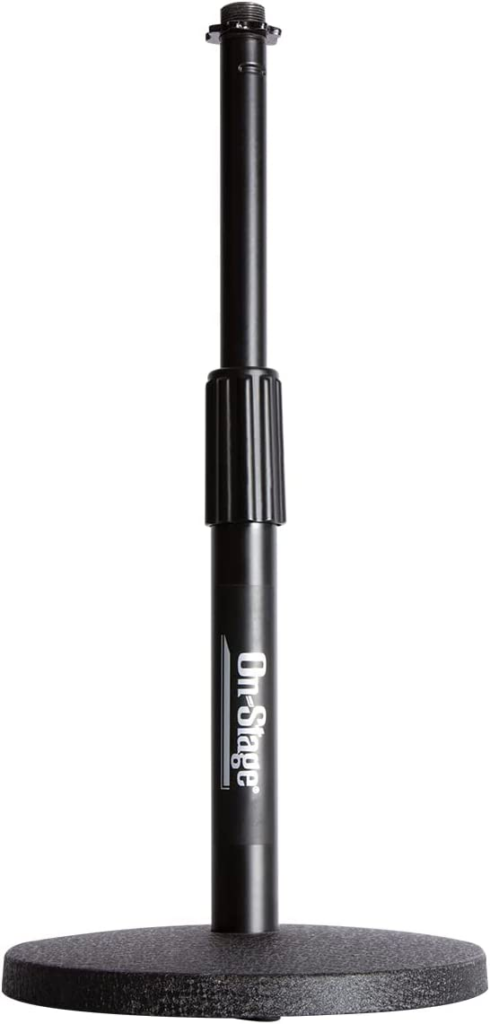
..which is then connected to either this On-Stage desk stand or this Tripod Stand.
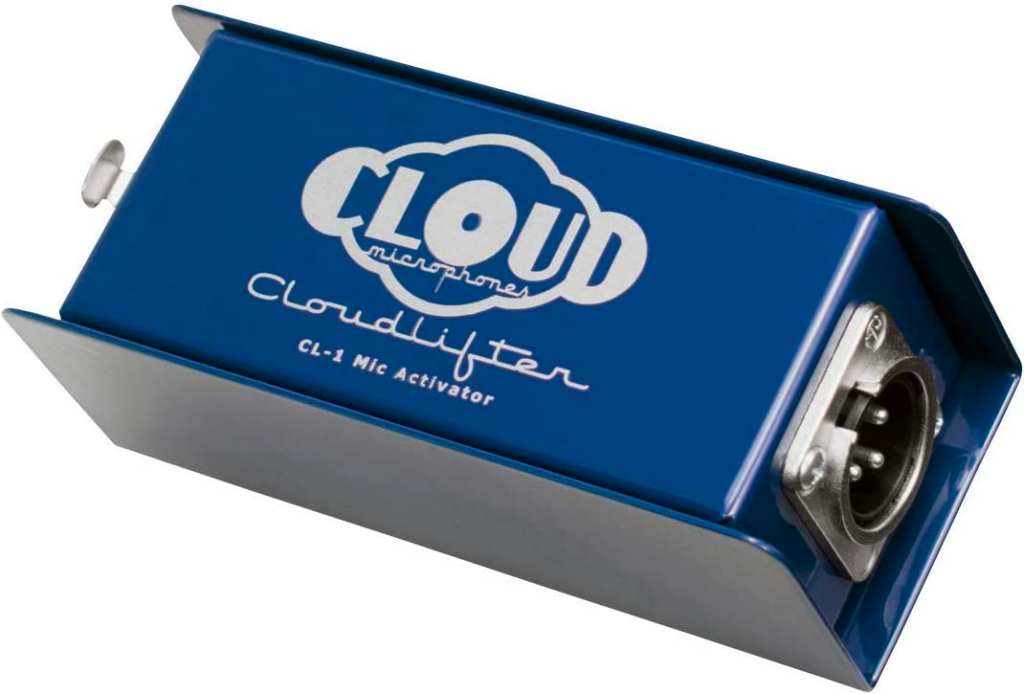
Cloudlifter Mic activator, which boosts the audio signal from the mic to make it usable; without it, the signal would be too quiet to be picked up.
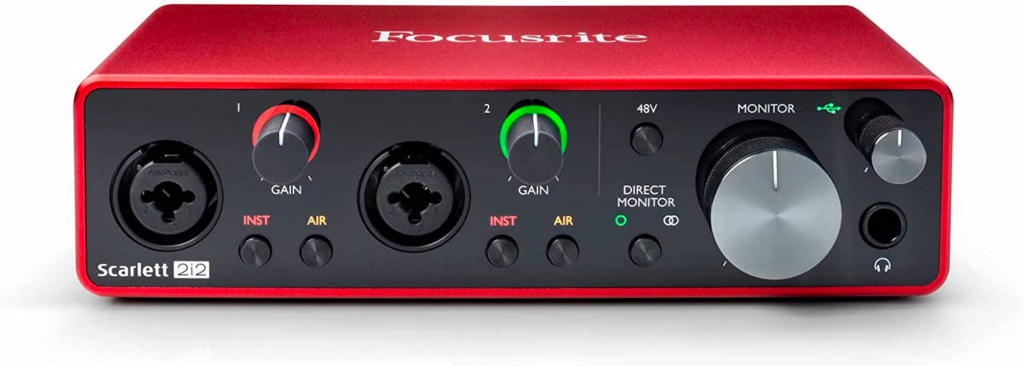
Focusrite Scarlett 2i2 3rd generation USB audio interface for studio quality recording, plus these two microphone cables. (Basically, this bad boy makes it so my computer can recognize my mic as an input device for platforms like Zoom and Riverside.)
Lighting equipment

Two of these amaran 200d LED video lights

Aputure light dome II studio reflector, which diffuses the lighting on me, so you can see me, but I don’t look too washed out! (It’s a big light!)

Aputure lantern softbox, which I use to light the background – it’s a nice addition because it means I can control the lighting of the background independently from everything else.
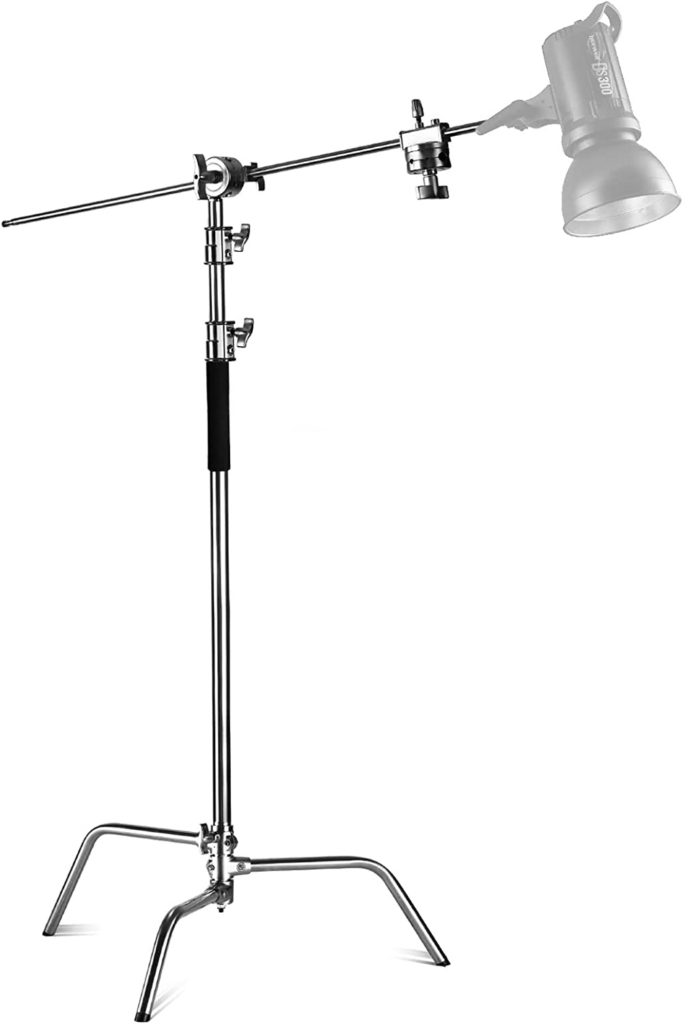
NEEWER Pro stand with boom arm
Teleprompter equipment
Yes, there’s a teleprompter involved — and it’s crazy helpful, because I’m also able to see the faces of who I’m talking to during our conversation, while also staying on track with my talking points!
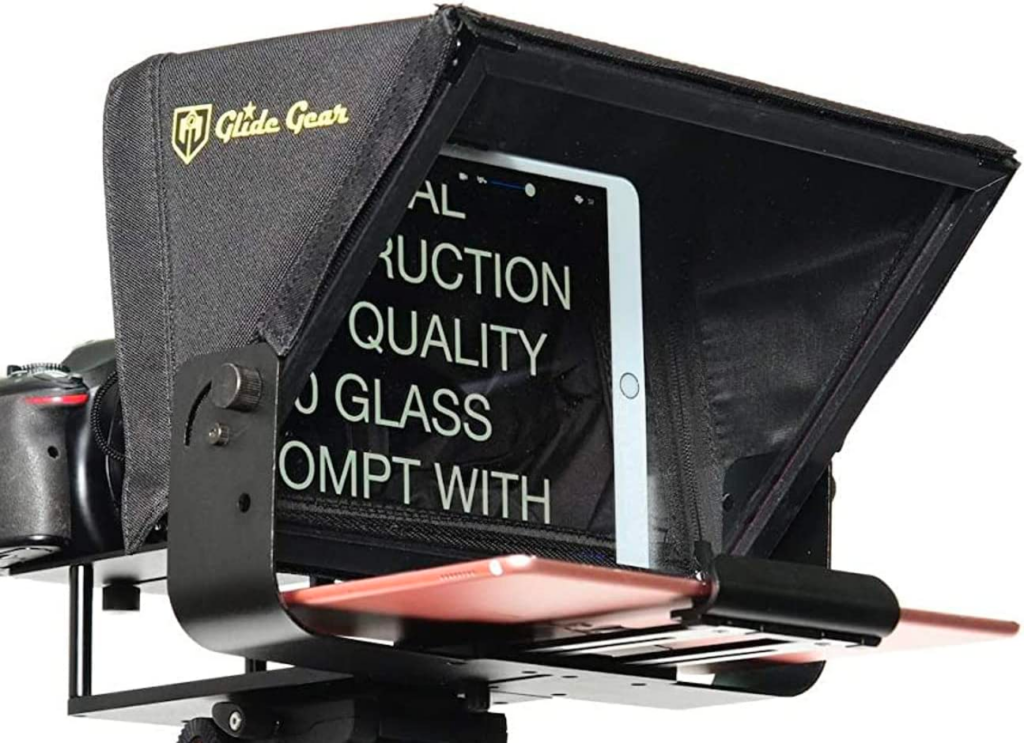
Glide Gear V2 tablet teleprompter
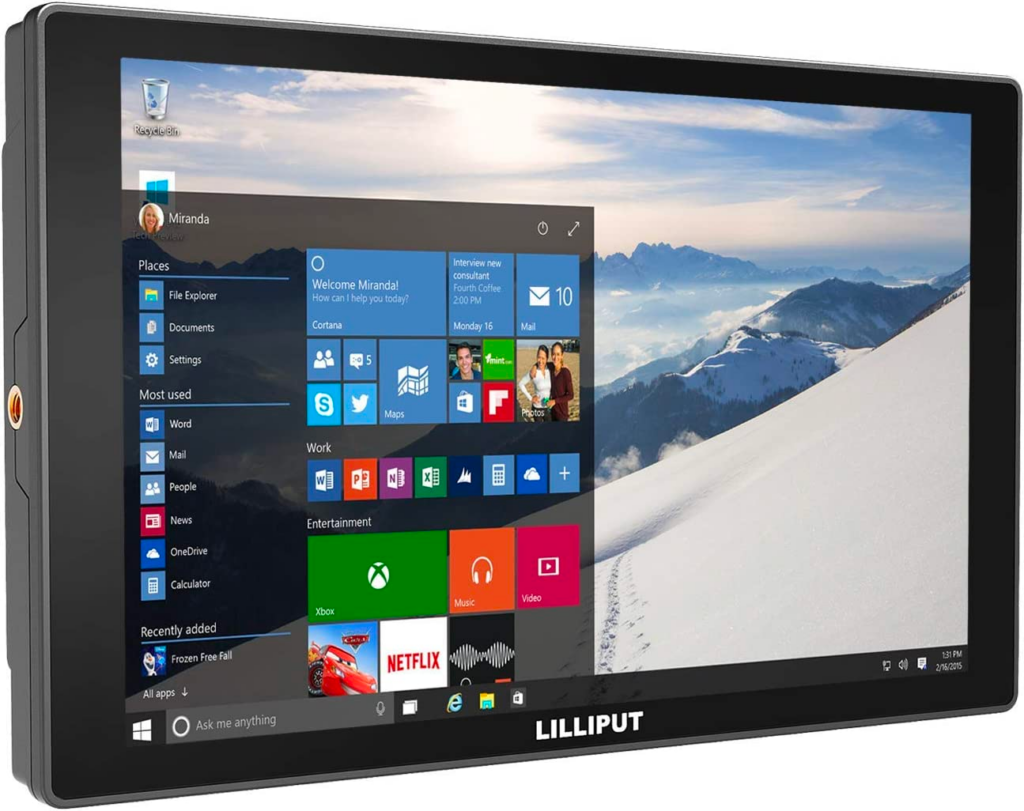
And then we have a few cables and batteries to round out the camera and teleprompter setup, so it all runs smoothly:
“Whoa, that’s a lot of stuff, Natalie!â€
You’re right, it is! However, while this setup works for what we need for the Independent Business Podcast, you don’t need to invest at this scale to get started on your own podcasting adventure.
“Keep it simple,†Tyler says. “Your setup doesn’t have to be uber-complicated. And the most important thing you want to focus on is your audio — that’s what matters most when it comes to podcasting.â€
According to Tyler, even though bringing video into the mix with your podcast can be a smart move from both an accessibility and shareability standpoint, your audience cares more about the audio quality of your podcast and will be more forgiving if your video isn’t exactly perfect.
“Honestly, if you have an iPhone made within the last five years, you’re already good to go in the video department,†he notes.
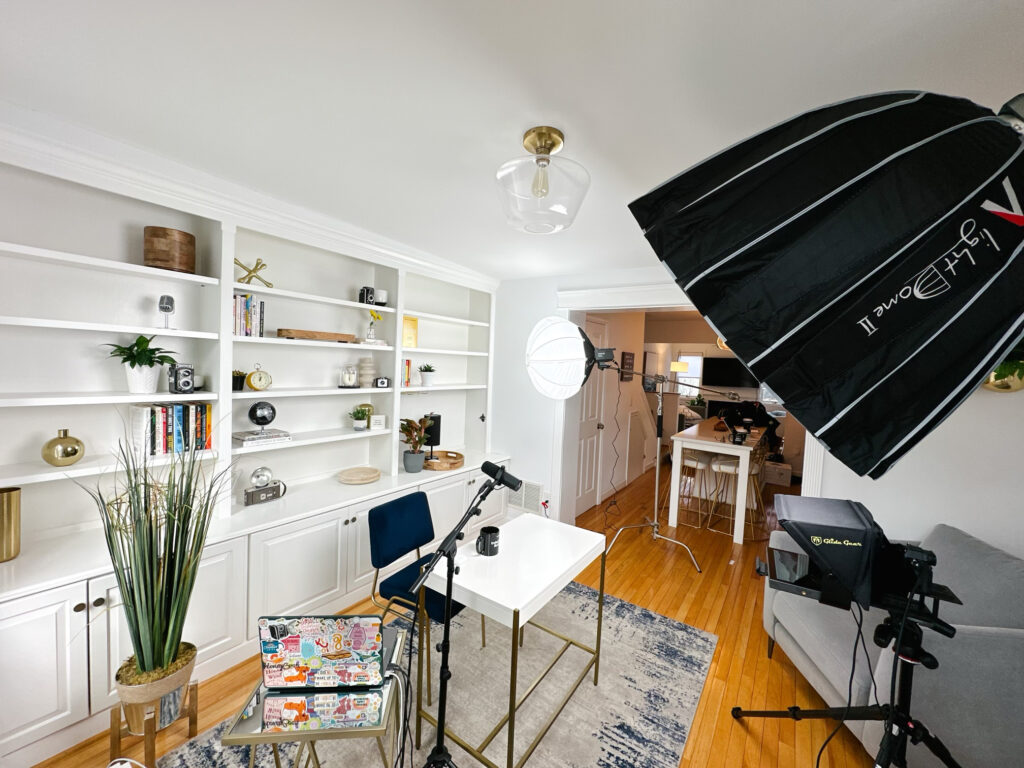
Recommendations for a simpler podcasting setup
In fact, let’s talk about what other options Tyler recommends if you’re looking for an approach to podcasting that’s a bit more accessible and streamlined. Because you may have big, bold podcasting dreams, but you may not need all the bells and whistles I shared above.
Audio equipment
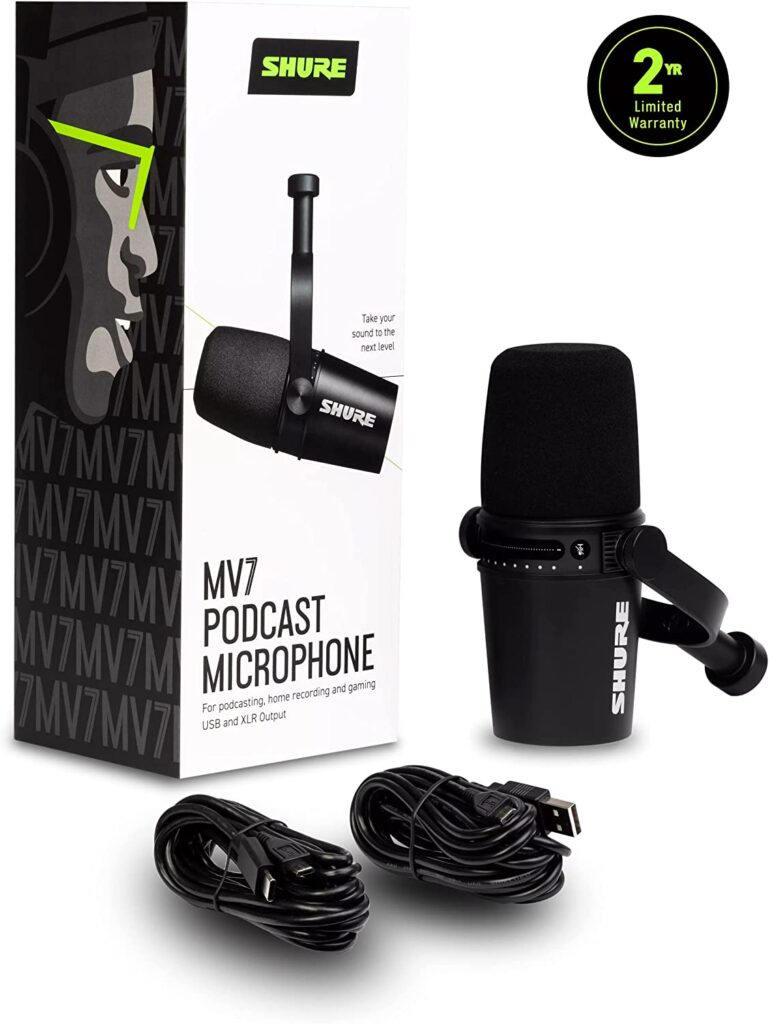
Shure MV7 USB microphone (just as effective as mine, and cost efficient) …
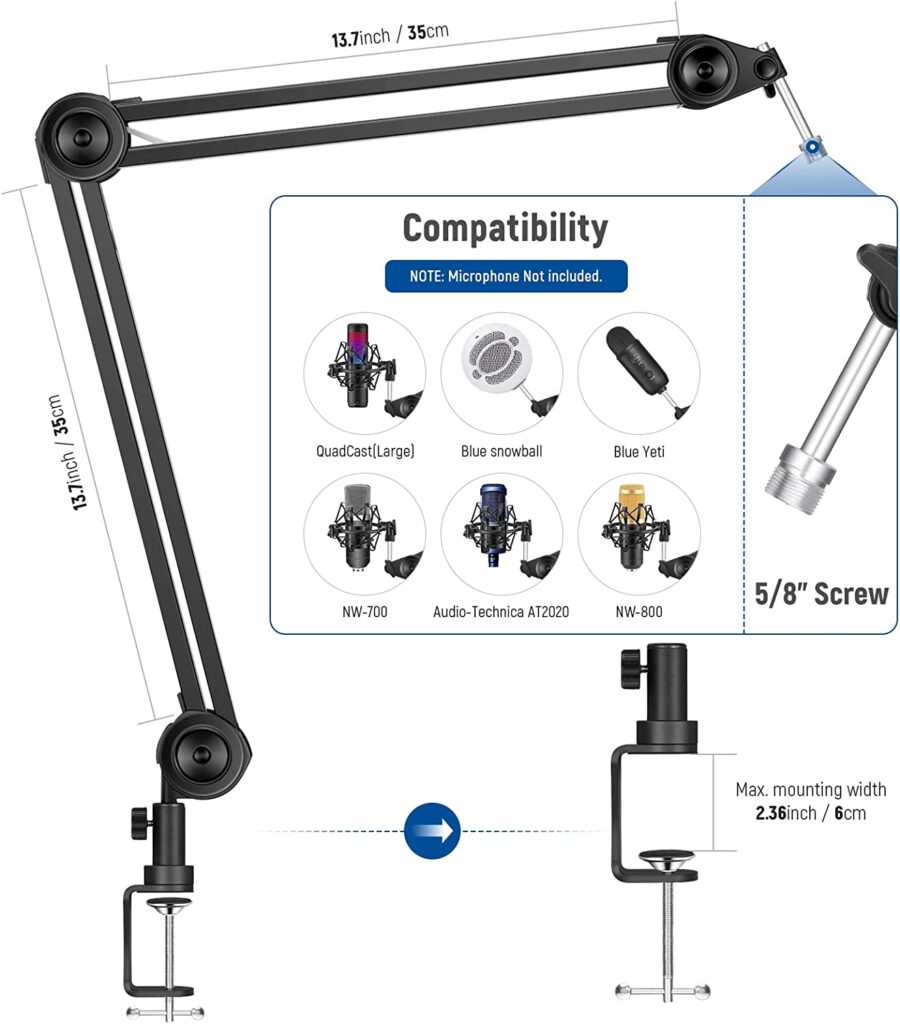
…and this Neewer microphone suspension stand!
Camera + lighting equipment
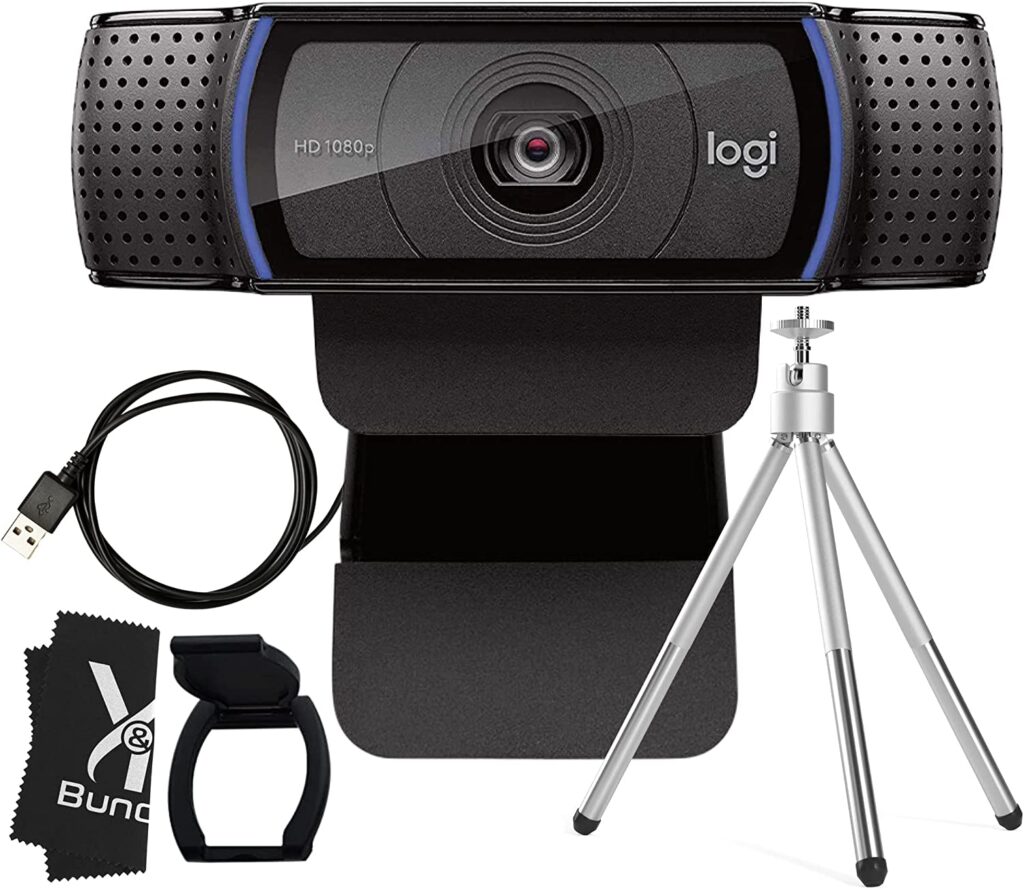
This logitech webcam is crazy powerful, according to Tyler!
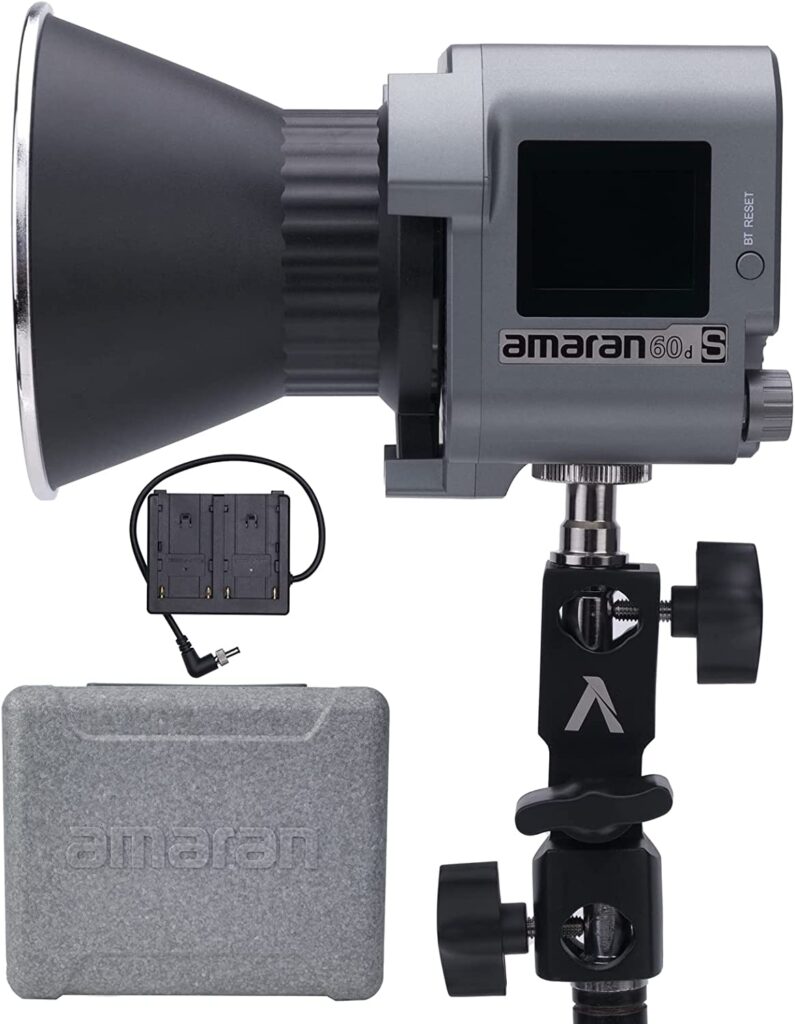
The Aputure Amaran 60D is a great daylight LED video light with Bluetooth app control
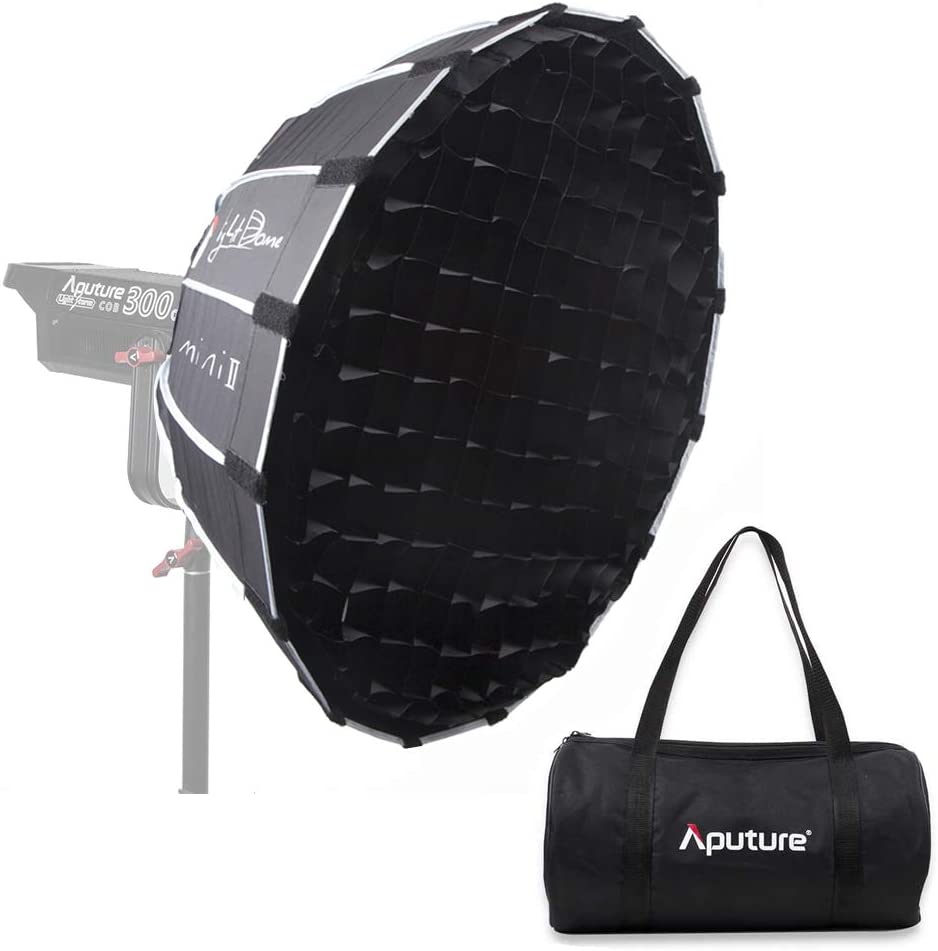
And this Aputure Light Dome Mini will help you soften your lighting in a more confined space.
You might also find this desktop light stand helpful, if you need a good way to mount your lighting!
Now, what you choose from this list really is going to depend on what your goals are. If you’re mostly focused on the audio of your podcast, you should prioritize audio equipment in your budget, Tyler says:
“Remember, when it comes to your audio, if you can buy the best that you can the first time, that’s something you won’t need to replace later — or at least for a very long time.”
Then you can integrate video with webcam options, or even your phone, and upgrade that over time as video becomes more pressing for you. Seriously, do not underestimate some of the equipment you may already have in your home — you may not need to purchase as much as you think to get started.
Other pro tips from Tyler for audio and video
Often, the difference between “good” and “great” with podcast audio/video comes down to small things that have nothing to do with the equipment you’ve purchased. Here are a few of my favorite recommendations from Tyler, to show you what I mean …
Tyler’s video tips for podcasters
- If you’re relying on your laptop (or a webcam attached to your laptop) to record any video for your podcast, elevate that camera by stacking books underneath the laptop — that way the shot is more head-on, rather than the dreaded “chin up” shot.
- If you’re going to be recording over an extended period of time, consider blocking out natural light from windows, so you can control the lighting artificially within the room itself. That way, if it gets brighter or darker as you record, all of the shots will remain consistent throughout.
- Speaking of lighting … it’s a big deal. So, while your iPhone may do just fine as your camera, lighting can make all the difference in the quality of your video. For example, think of folks who show up to video conference calls looking like they’re coming to you live from a cave.
- Be intentional about your background. What can people see? Does it tell the right story about you? Could you be more purposeful in what you display?
- Watch how you frame your video, particularly if you intend to share clips on social platforms. What may look great horizontally may not crop well in the vertical format that is ideal for TikTok and Instagram. (This is where using a webcam that’s not attached to your laptop can be very helpful, because you have more control over the distance and framing.)
Tyler’s audio tips for podcasters
- Use your headphones when you’re recording. Do that, and thank me later, because your audio quality will be much, much better.
- Before you start recording, do a quick check of your surroundings. Do you hear a lot of noise that could be minimized with a closed window or do? Do you need to hold on recording for a bit until sirens pass? This small dose of situational awareness can save you a lot of editing heartache later.
- Be careful how close you are to your mic when you’re recording. It may take a little bit of testing, but you want to be like Goldilocks with your mic placement — not too close, but not too far either. You’ve gotta find that “just right” sweet spot.
I’ll admit, I was intimidated at first
From the start, we knew wanted to purposefully make the podcast as accessible as possible — and we worked closely with others to guarantee we were laying the right foundation for that to be possible.
So, from the start, we knew we’d be publishing the podcast in a video format, in addition to audio. This led to choosing Riverside as our recording platform… and from there I had a little more to learn.
Was I excited? Yes! But I also had a little anxiety, because the quality of the equipment we used to produce the show had to be top-notch. And my recent interview with Xayli Barclay on the importance of authentic video to build trust as a business really underscores that in retrospect:
I remember thinking to myself, “Am I even qualified to be creating content at this level? I’ve never really focused on creating high-quality video before, so what do I know about doing it well?â€
Overall, the idea felt intimidating. I knew I wanted to create high quality content for you all through the Independent Business Podcast, but I feared I didn’t have the chops to make it happen. (See, even the girl who writes a book called Gutsy has her own fear gremlins.)
That’s when I realized I needed to challenge myself in a way that I encourage you all to try when you’re on the edge of diving into the unknown …
Fully embrace becoming a novice again
As you level-up as an independent business owner, you can all too easily become discouraged as you continue to grow when you face new challenges. Maybe it’s learning new equipment as you embark on your own podcasting adventure, or it could be something entirely different.
That’s why Tyler says you shouldn’t be afraid to ask for help during any new journey you undertake — but particularly with podcasting and video:
“There’s nothing worse than spending an hour or two recording something, only to have it not be usable because of an equipment issue. When it comes to technology, a lot of things can go wrong. Don’t let that discourage you from starting, but also don’t be afraid to ask for help!â€
Whatever your next challenge may be, remember that no matter how far you go (and grow), you will still encounter opportunities and challenges along the way that put you back into the seat of being a beginner.
And that’s a good thing.
Leave a Reply Cancel reply
© 2023 Natalie Franke
/
/
/
/
/