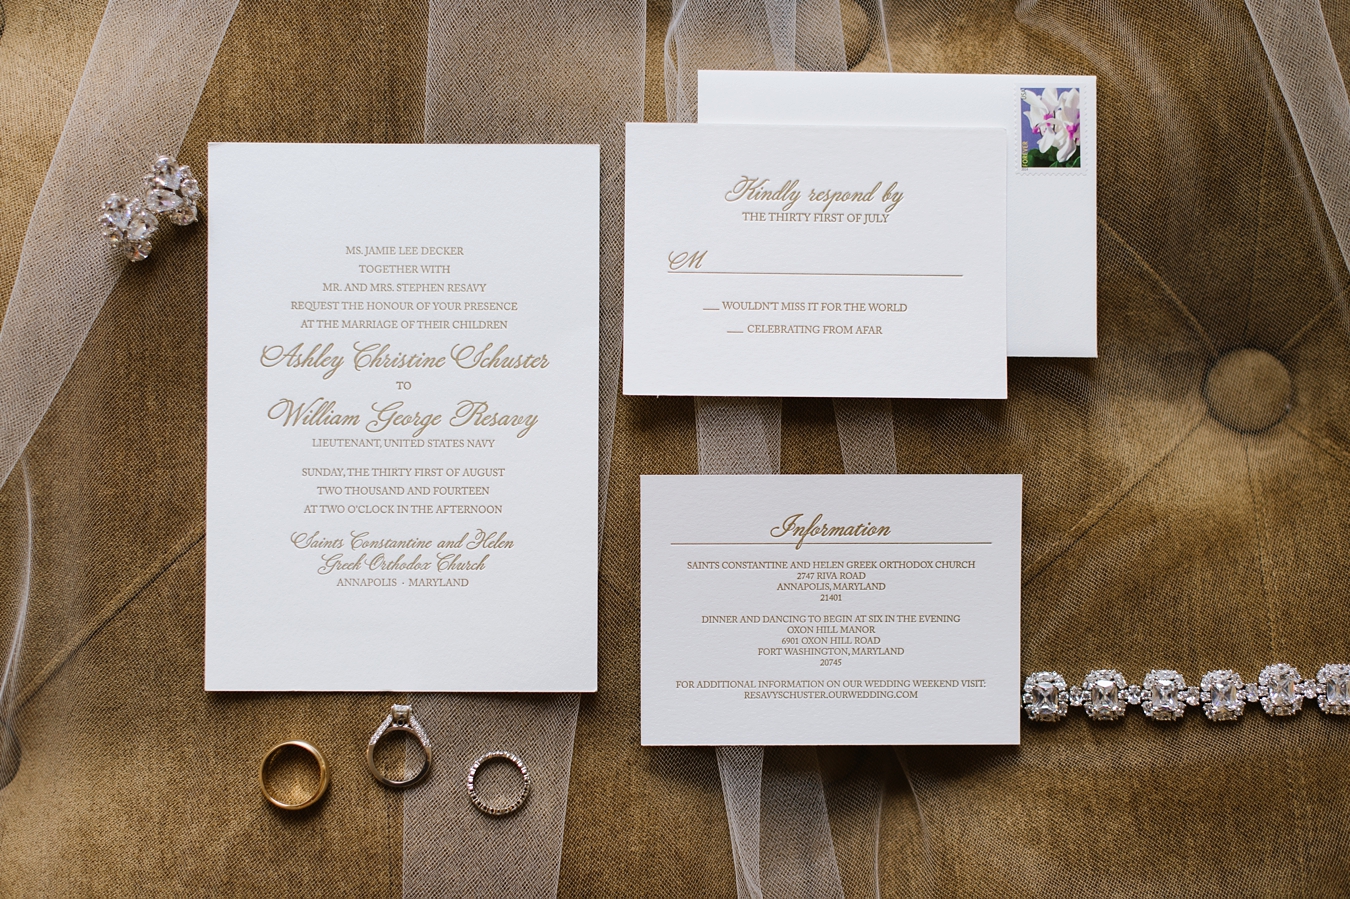
Shooting the details is one of my favorite parts of the wedding day! It is generally the first thing that I do upon arriving to the bride’s getting ready location and it sets the tone for the rest of the day!
When I first started as a wedding photographer, I constantly struggled to capture the rings and invitation suites in the way that I envisioned! I was nervous walking into each getting ready room, unsure of what I was going to encounter and how I was going to get those ‘Pinterest-worthy’ shots that I had been dreaming up in my mind!
So rather then accepting detail shots as my weakness, I started practicing styling in my room on my little Ikea table using simple envelopes and my own jewelry. Slowly, but surely, I started to find my niche and started to get more excited about shooting paper and jewels. It took studying some fabulous lifestyle bloggers + magazines, but I soon found myself excited to shoot the details! And with each passing wedding, my excitement only grew as I realized how much creative freedom I had during this portion of the day.
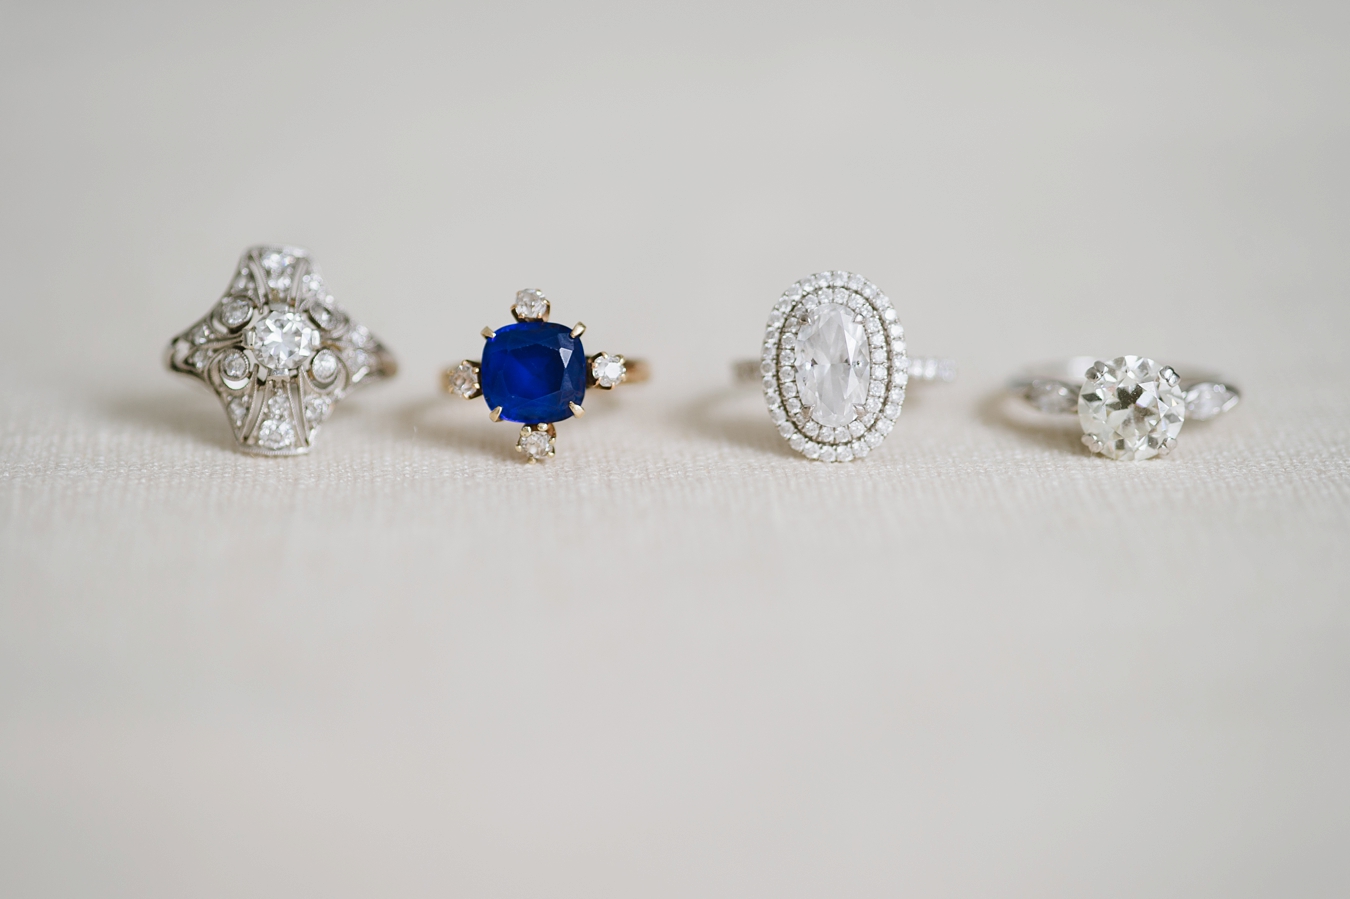
1) Gather All of your Key Components in Advance
Before I even arrive at the wedding, I ask my bride to assemble a bag with all of the items that she would like me to style in her initial detail photographs. If she follows the blog, she has seen how I style my invitations and jewelry pieces to start the day and is excited about having her wedding captured in the same way! So when I arrive to photograph the bride getting ready, I take her Bridal Style Bag and find a clear space by a window to shoot the details!
This bag may contain any of the following items: Paper Suite (Invitation, Save the Date, Envelope, etc.), Jewelry, Shoes, Swatches of Lace or Significant Fabric, Heirloom Pieces, Garter, and the Rings.
I make sure to ask for the rings before the day gets started so that once the ceremony is underway, the rings do not leave the couples’ fingers for the remainder of the day! I also ask the bride to have the gown hanging from a non-plastic hanger with any pins or stuffing removed so that I have more time to style, rather than spending those precious minutes unpinning and re-hanging.
Having all of my key components in advance saves time and ensures that nothing is forgotten! It makes my job easier and often gives me more items to work with when crafting the perfect series of detail shots!
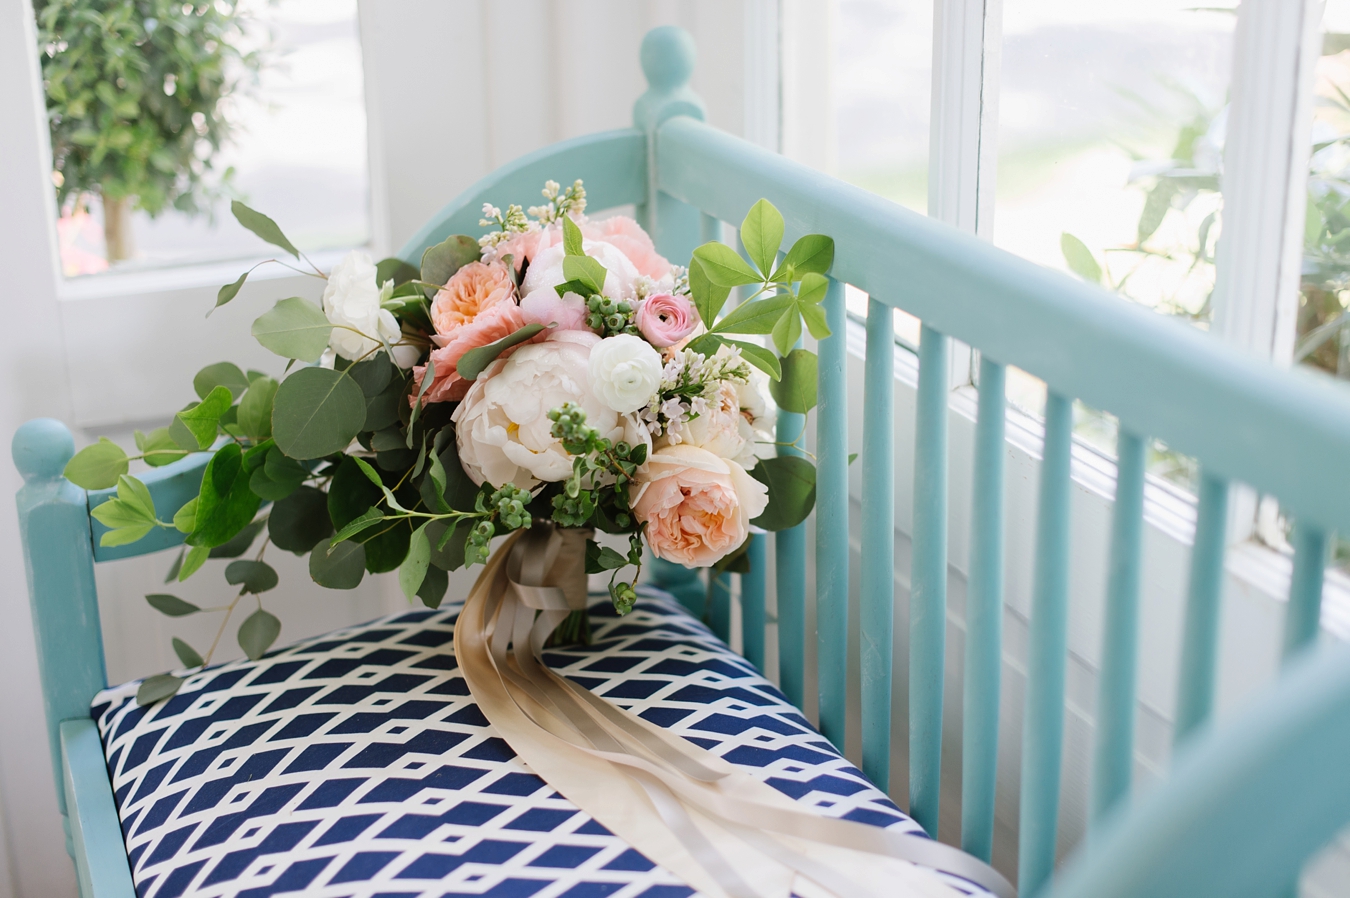
2) Choose your Light Source with Intention
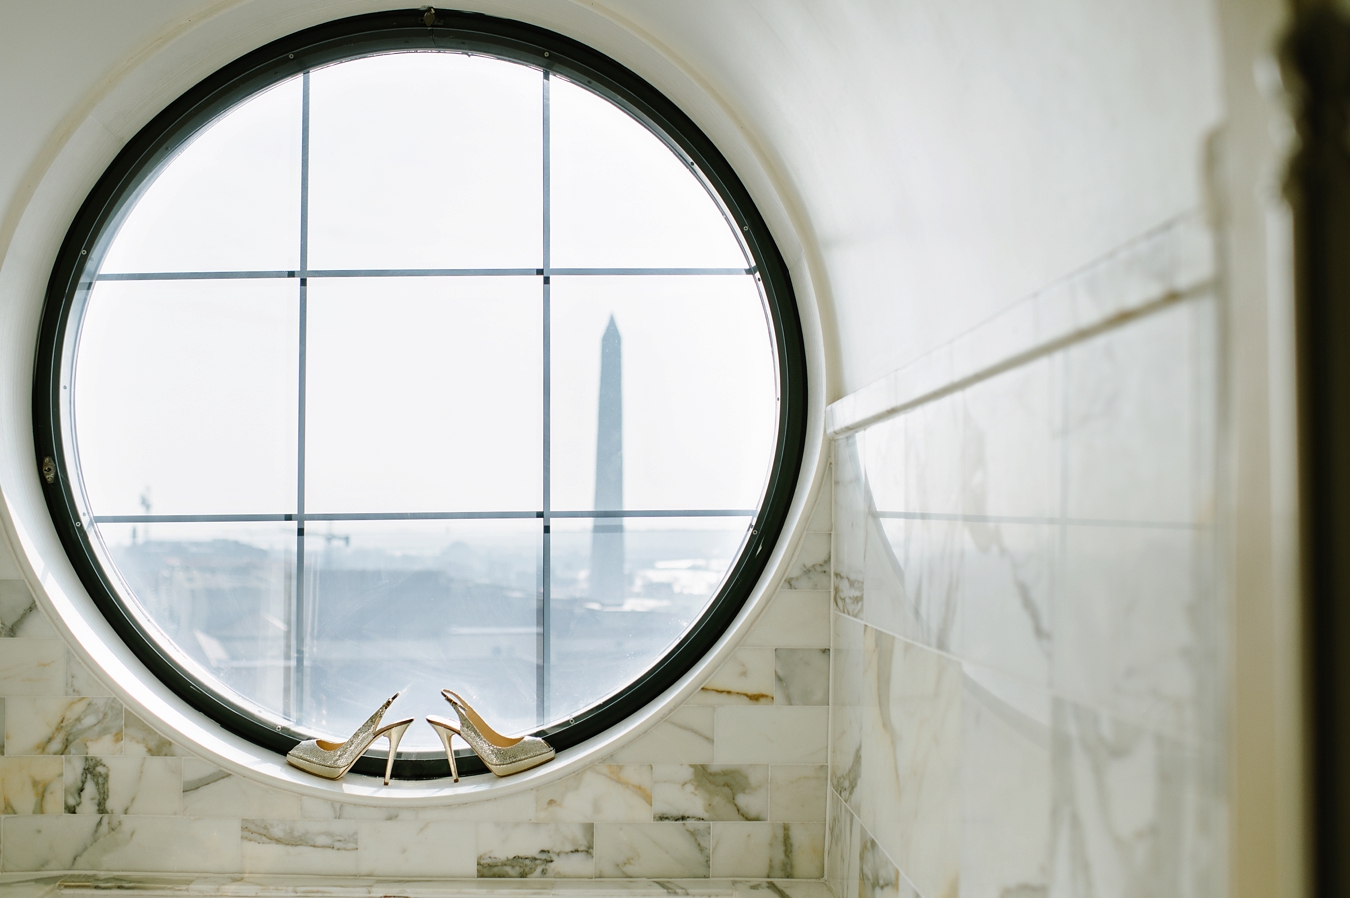
There are an endless number of ways to light the wedding details and most of my getting ready photographs are captured with soft, directional window light. I turn off any incandescent bulbs in the room, setup my background adjacent to a window, and take advantage of that gorgeous light. This tends to work best for planar, two-dimensional shots captured directly from above, but I also love it for shoe shots and bouquet photographs!
When my window light is too harsh or creates defined shadows leading away from the light source, I’ll use a reflector or large white object in the room to direct light back towards the object (pillows work great if you’re in a pinch!). You’d be shocked at some of the things we’ve used as a reflector in the moment (especially for ring shots!).
Reception details deserve an entire post of their own! I nearly always use artificial light to capture details at the reception with either off camera flash or a video light!
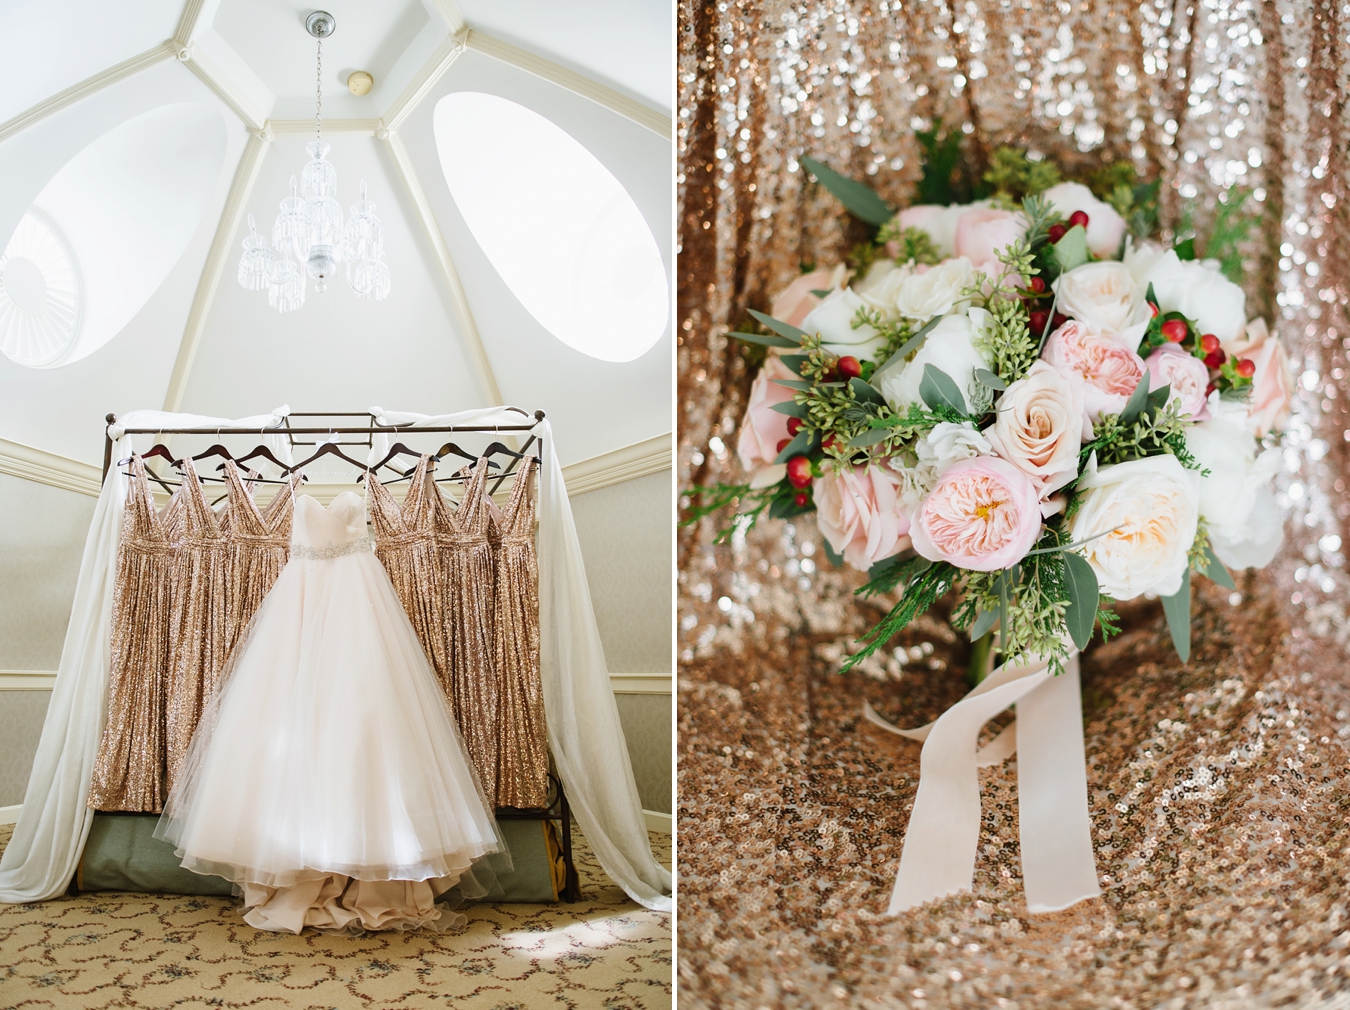
3) Use Composition Creatively
The key to any good detail shot is composition! Keep in mind The Rule of Thirds when positioning items within the frame to create a more visually dynamic photograph. Keep your eye peeled for reflective surfaces, mirrors, and textures that allow you to craft a more creative interpretation of the scene.
Whenever I have multiple pieces to consider in a single frame, especially in invitation shots, I like to make sure that the overall frame feels balanced. If I place the earrings to the right side, I want to make sure there is something countering that ‘weight’ on the lefthand side of the frame.
4) Shallow Depth of Field
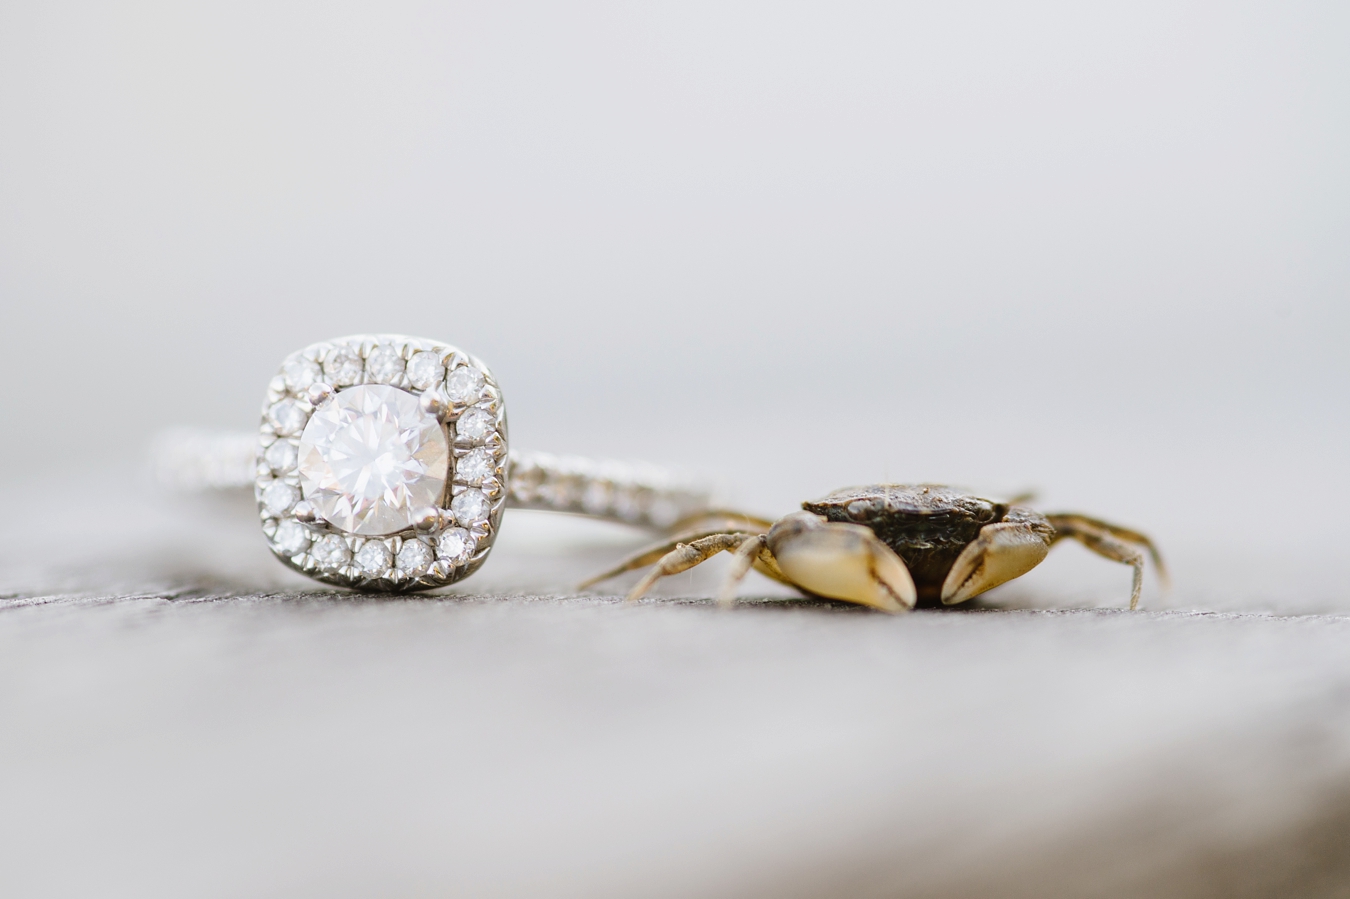
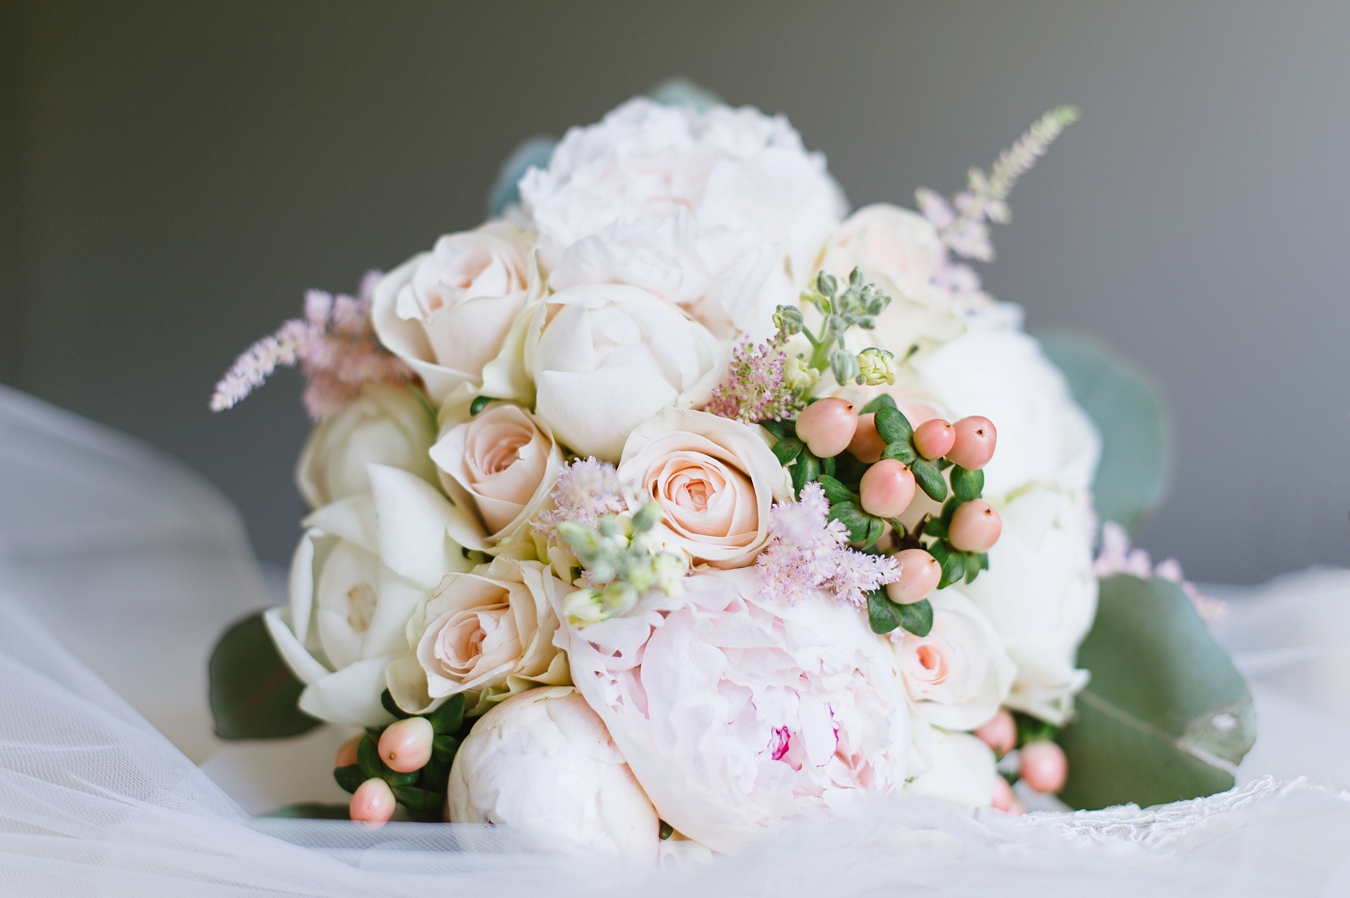
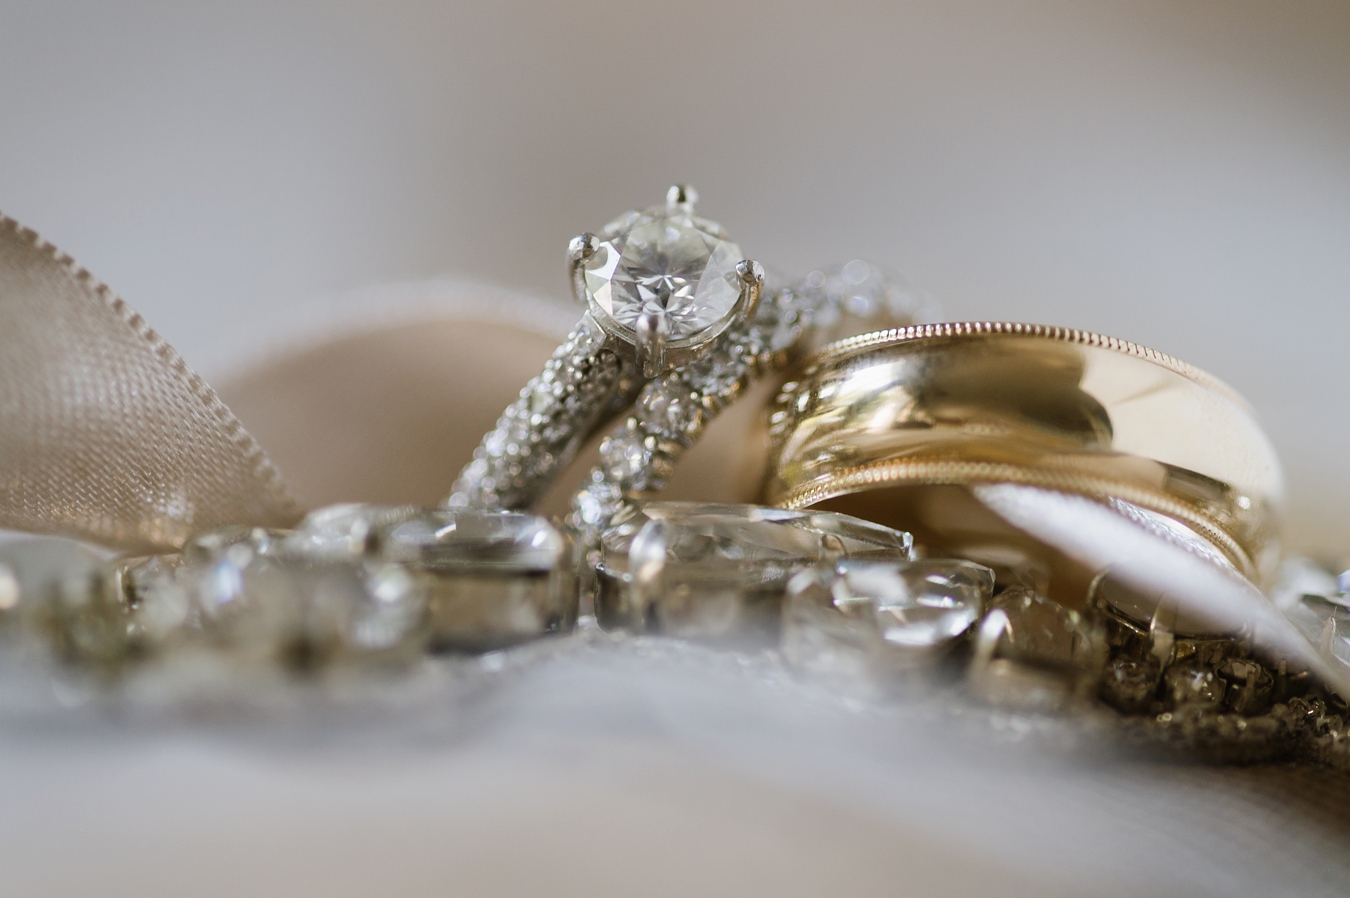
I always photograph details with a prime lens and generally keep my aperture, when possible, between f/2 and f/2.5. Everyone has their sweet spot with photographing details and I have fallen in love with the gorgeous bokeh that I can achieve when shooting nearly wide open!
Shooting with a shallow depth of field also allows your eye to glide directly to the focal point and fades any distracting elements in the background! Add in sheer or shimmering foreground and background elements when shooting with a macro lens and you may feel transported into another world.
5) Don’t Fear Manual Focus
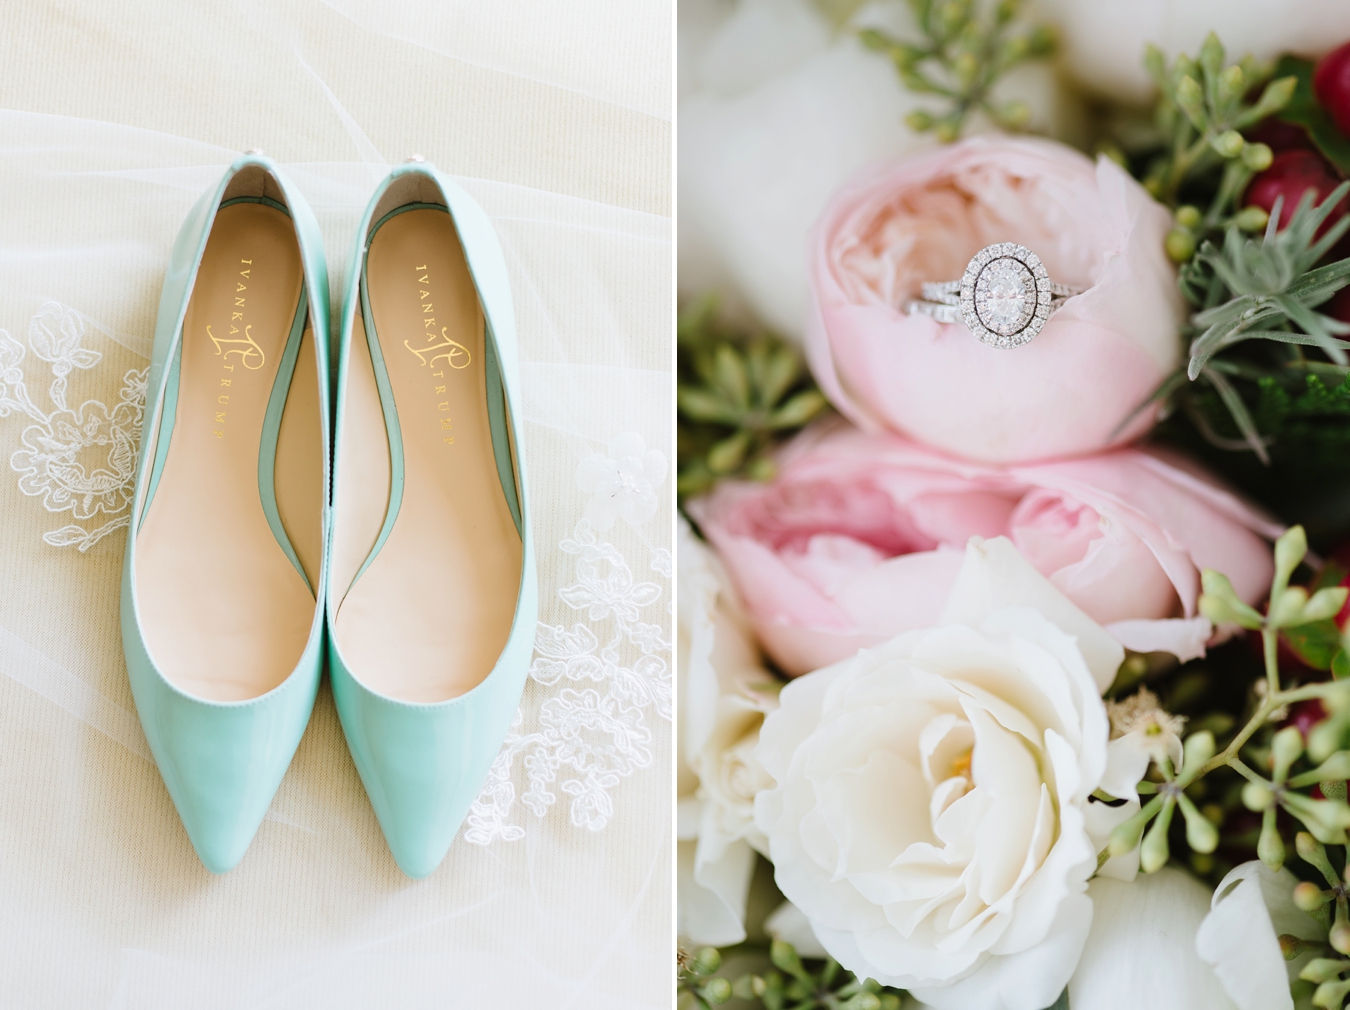
I shoot almost all of my ring + jewelry shots in manual focus because it allows me to achieve the sharpest clarity with the quickest speed. My Macro lens is fantastic, but it’s very slow to hone in on the focal point that I’ve chosen.
By switching into Manual Focus mode, I can quickly determine what elements I want to remain sharp in the plane and which are better left in bokeh!
So if you’ve been struggling to shoot details, I hope today’s post helps to give you a little guidance! And if you’re still feeling stuck, don’t be afraid to try all of these shots at home! Practice makes perfect!
Leave a Reply Cancel reply
© 2023 Natalie Franke
/
/
/
/
/

i love this post natalie! well done!
I always love you detail shots.
Such good advice!!
I love this! love all the pictures as well. And I absolutely agree manual focus helps me get the most of it. 😉 LOVE LOVE LOVE the details! 🙂
This is amazing advice. I’ve been struggling with these kinds of shots for years. Thank you for your guidance and encouragement!
Perfect timing for my wedding this weekend! I just emailed my bride asking for a bag of items!! Thanks!
Thank you for posting, helpful and my biggest struggle!! 🙂
ummm love this!!! you’re the queen of amazing detail shots
such a great post on photographing wedding details! having the bride get things ready before the day AND include styling pieces that are special to her is a brilliant idea for saving time and ensuring the detail photos are incredibly personal!
Great tips, Natalie!! I especially like the suggestion that the gown is on a non-plastic hanger with all pins, etc. removed! You have so many gorgeous detail shots; love these!!
Thanks for such a detailed post. It’s easy to forget small things, like removing the stuffing and pins from a dress.
I love this post Nat!!
I love shooting details, i struggle with getting right exposure when shoes are backlit against the window.
Do you ever have to use a tripod? Or do you find that shooting wide open (2 or 2.8) eliminates the need for a slower shutter?
Lisa, I don’t use a tripod! With plentiful natural light and shooting wide open, my shutter speed rarely dips below 1/200!
[…] month, I shared my Tips for Photographing Wedding Details and today I am breaking it down even further and honing in on one of the most iconic of all the […]
These photos are GORGEOUS – and your tips are so helpful!
[…] few weeks ago, I shared 5 Tips for Shooting Wedding Details and today’s post is written to take those tips one step further and refine your detail shots […]
[…] Sometimes the small and simple details can be my favorite things. They’re not only my favorite in general, but they can also be my favorite to photograph. Especially with a wedding, you want to be able to remember every little detail of that day. Some of the important things to shoot are the cake, the rings, the invites, the food, etc. If you’re unsure of how to get the best detail photos, check out this article. […]